Täglicher Bestellschluss um 14:00 Uhr

Organisieren Sie eine DJI Mini 3 Pro Drohne für mehr Portabilität
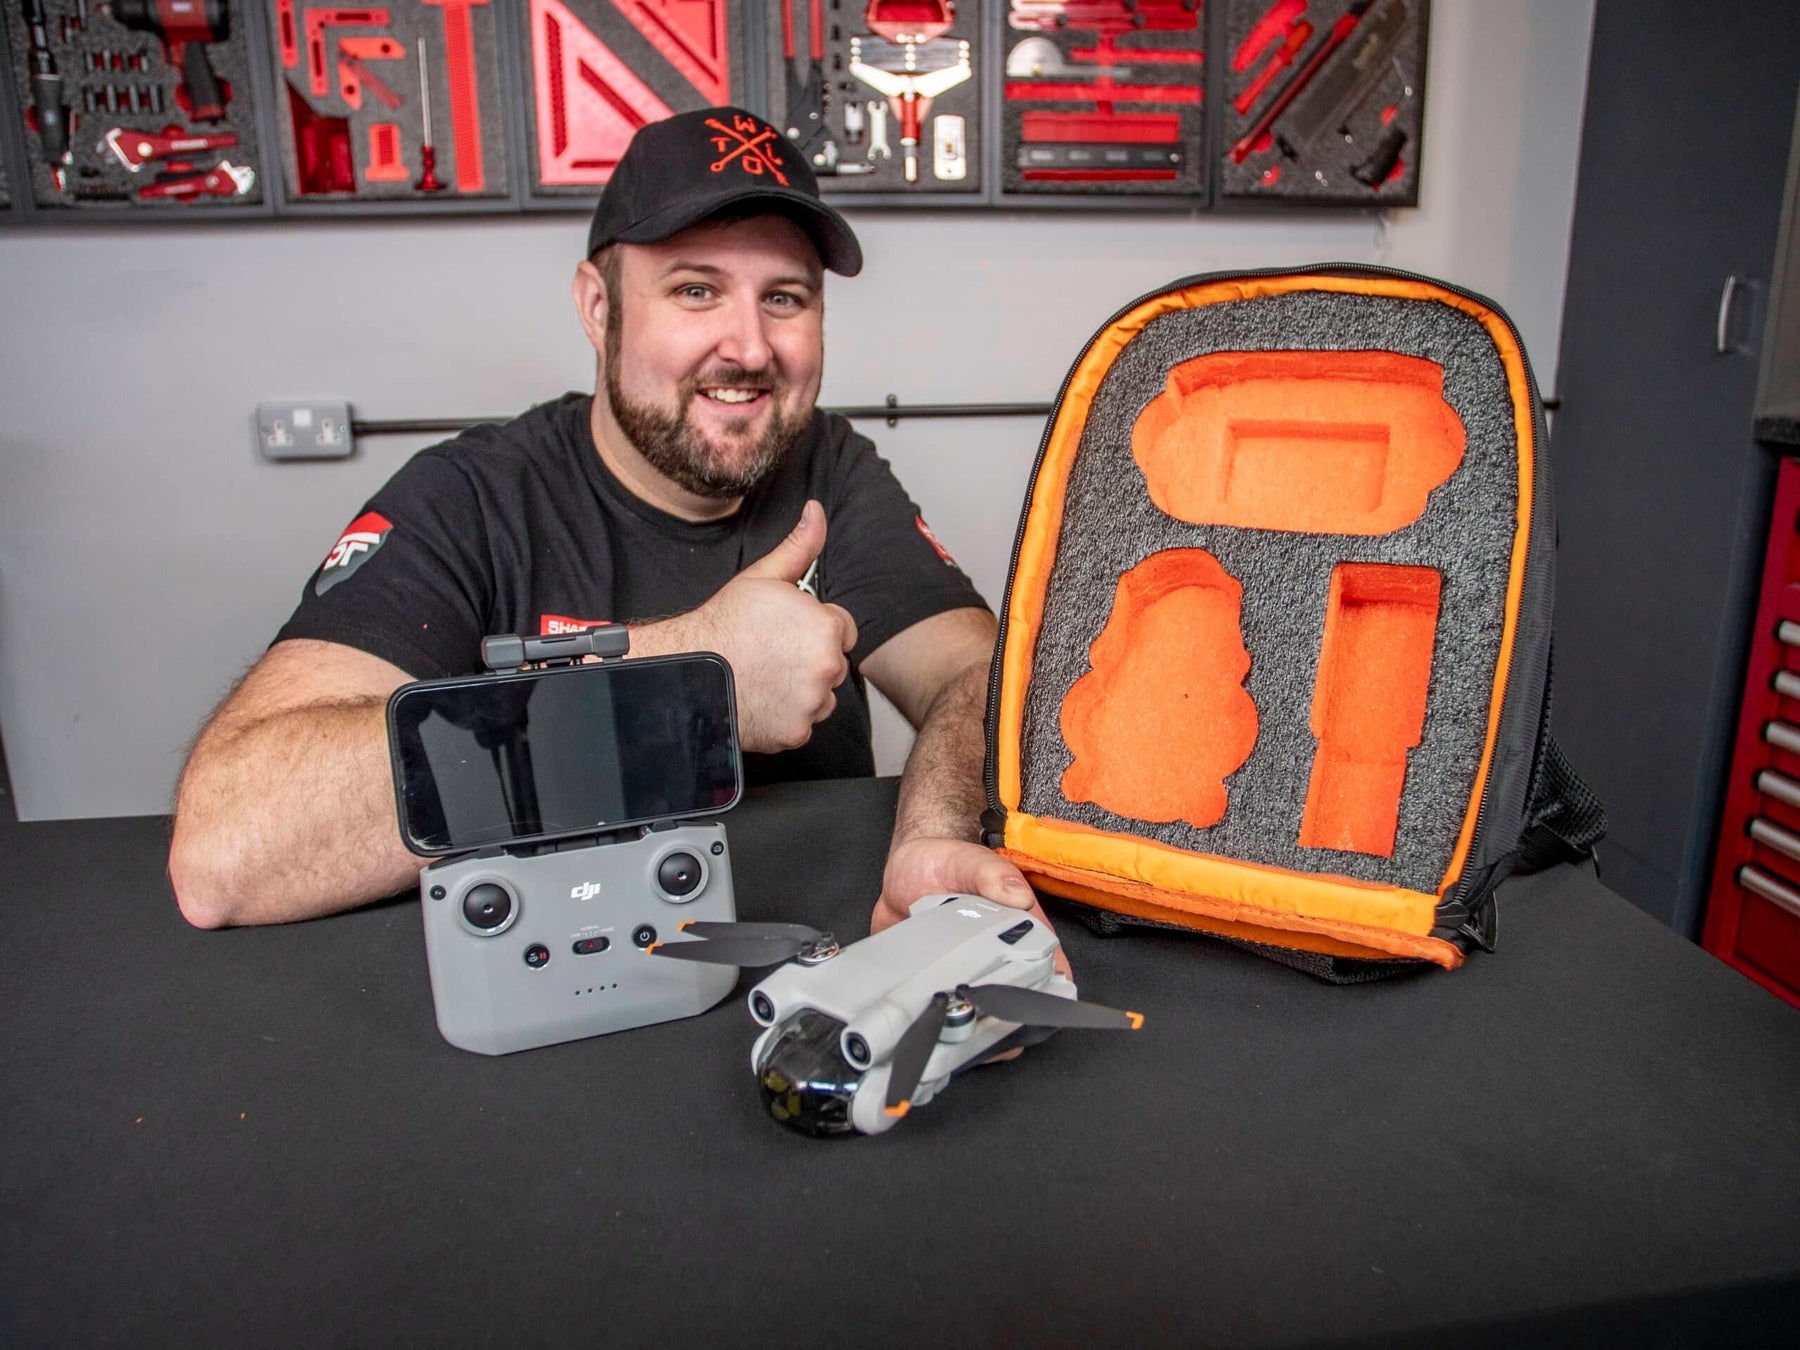
Diese Woche hat Jonathan ein etwas anderes Projekt für seinen Schwager übernommen. Evan kommt aus Herr Autos, Northwich und hat eine neue Drohne. Daher wissen wir, dass viele Drohnenfans da draußen es zu schätzen wissen werden, da wir sehen, dass immer mehr Menschen ihre Drohnenlagerung mit Shadow Foam organisieren. Diese Woche nehmen wir seine DJI Mini 3 Pro Drohne, organisieren sie und schützen sie. Und wir packen sie in das ultimative tragbare Tragegerät... einen Rucksack! Sieh dir an, wie es gemacht wurde, und wie wir hier damit zurechtgekommen sind.
Warum die DJI Mini 3 Pro Drohne?
In Kürze… Gewicht. Mit 1g weniger als 250g bedeutet dies, dass es die größte Drohne ist, die Sie ohne Lizenz oder Training fliegen können. Sie ist auch klein und faltbar, was großartig für die Portabilität ist. Aber in diesem Fall ist klein immer noch ziemlich leistungsstark und verfügt über einige verbesserte Sicherheitsmerkmale, die offensichtlich sehr wichtig sind.
Die Kamera auf dem DJI Mini 3 Pro Drohne wird von einem 3-Achsen-Gimbal unterstützt, der Ihre Aufnahmen stabil hält. Sie können die Kamera um 90° drehen für echtes Hochformat – bereit für die sozialen Medien, ohne zuschneiden zu müssen. APAS 4.0 erkennt und umgeht Hindernisse, um die Drohne sicher zu halten, damit Sie sich auf das Aufnehmen konzentrieren können. Und es läuft mit bis zu 34 Minuten Flugzeit.
Warum Sie eine Drohnenlagerung benötigen
Es hängt natürlich von den individuellen Vorlieben ab, aber wenn Sie ein hochwertiges Stück Ausrüstung haben, lohnt es sich auf jeden Fall, es in irgendeiner Art von Tasche zu schützen. Mindestens hält es all Ihre Ausrüstung und Zubehör an einem Ort zusammen.
Das Drohnengehäuse, mit dem die Einheit geliefert wurde, wäre für viele in Ordnung – es ist super klein und leicht. Aber was es nicht tut, ist zu signalisieren, ob etwas fehlt, bevor Sie einpacken und den Standort verlassen. Durch die Einführung von Shadow Foam in Ihre Drohnenlagerung können Sie auf einen Blick sehen, ob Sie Ihre gesamte Ausrüstung haben. Es schützt sie auch, während Sie unterwegs sind.
Unsere Auswahl an Drohnenkoffern
Für uns haben wir uns für das Ultimative in Sachen tragbarer Freiheit entschieden. Den zuverlässigen Rucksack. Wir haben kürzlich einige Rucksackprojekte durchgeführt, darunter ein DeWalt Werkzeug-Rucksack und unser eigenes audio kit rucksack. Und es ist kein Zufall, dass wir immer wieder zu diesen zurückkehren. Sie halten Ihre Hände für andere Aufgaben frei (in diesem Fall das Fliegen unserer Drohne!), und sie haben die perfekte Größe für unser Zubehör.
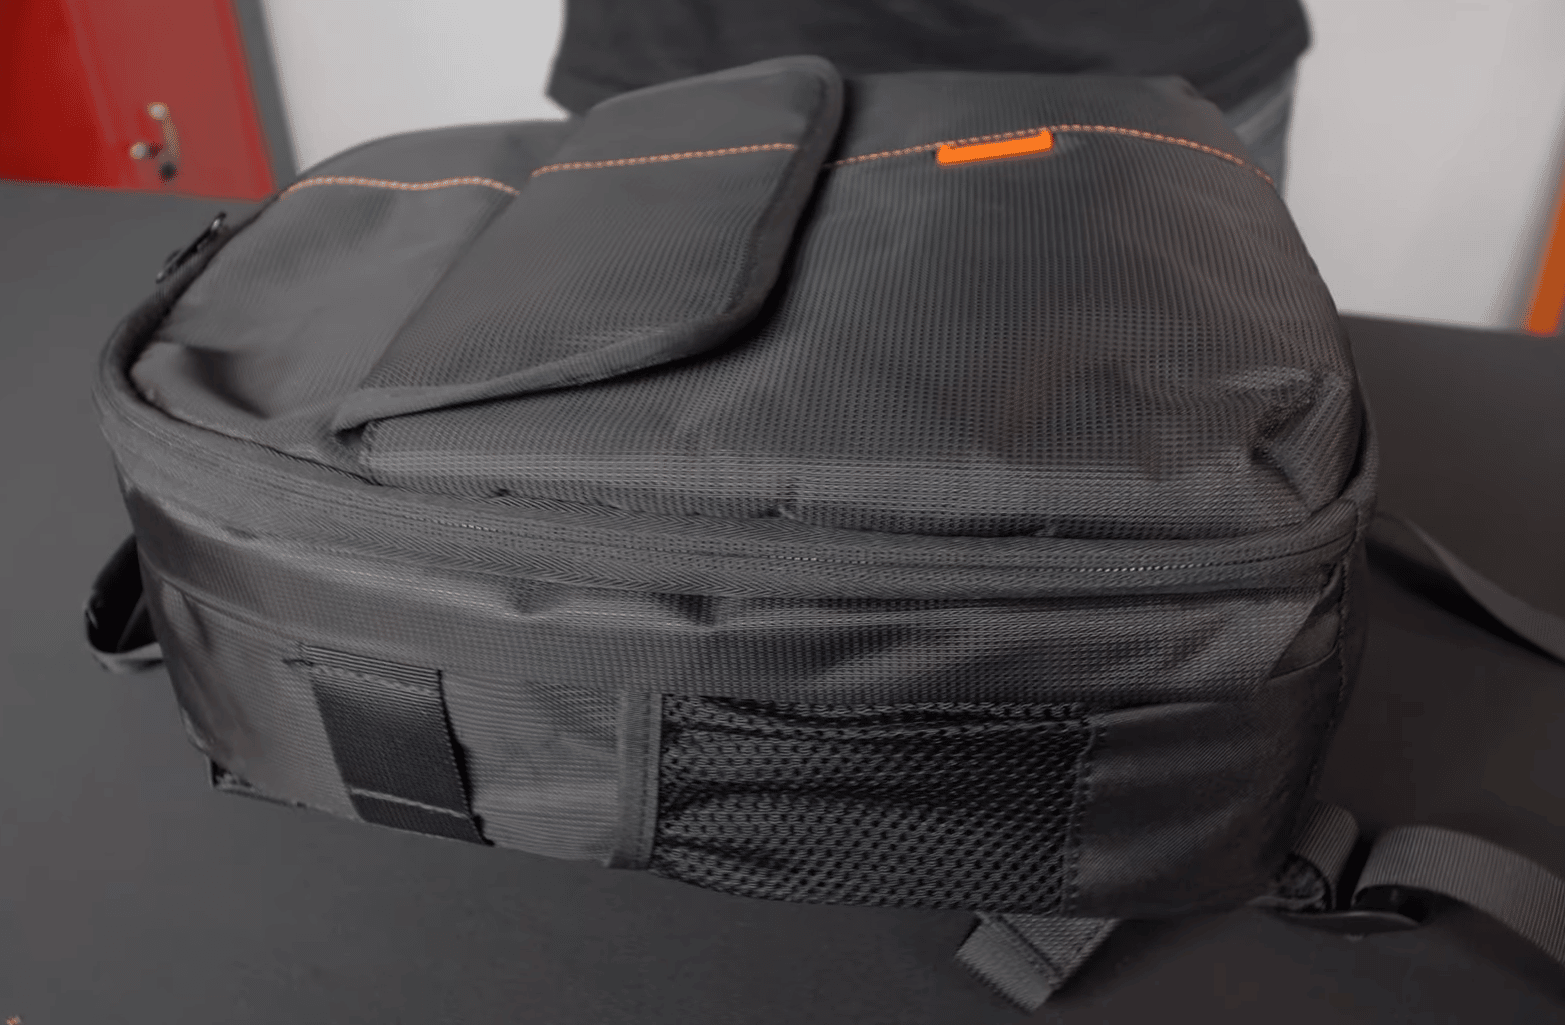
Wir hatten den perfekten, kleinen Fotorucksack, den wir für diesen Drohnenkoffer umfunktionieren konnten. Zum Glück war er in den Lieblingsfarben des Besitzers, Black und Orange. Aufgrund seines vorgesehenen Verwendungszwecks hat er bereits ein wenig Stärke und Polsterung. Aber durch die Verwendung von Shadow Foam wissen wir, dass wir ihm noch mehr Struktur verleihen können, sodass er perfekt für die Aufgabe geeignet ist.

Eine Schaumstoffeinlage für die Aufbewahrung Ihres Drohnen zu bekommen.
Wir haben zuvor einige der Techniken demonstriert, die Sie verwenden können, um Ihr eigenes maßgeschneidertes Einlage zu Hause mit den einfachsten Werkzeugen zu erstellen. Weichseitige Taschen und Beutel wie dieser Rucksack machen es ein wenig herausfordernder. Aber mit ein wenig Geduld können Sie ganz einfach eine maßgeschneiderte Schaumstoffeinlage für fast jede Tasche oder jeden Koffer erhalten.
Die Technik, die wir hier gewählt haben, besteht darin, das vordere Reißverschluss-Panel als Vorlage zu verwenden, um die Form zu bestimmen. Dies gibt uns etwas, das der Größe und Form, die wir benötigen, um die Tasche anzupassen, sehr nahe kommt. Von dort aus können wir dann einfach nach Bedarf verfeinern. Wir verwenden ein passendes Stück Orange 70mm tiefen Schaumstoff. Unseres ist nur ein Verschnitt von einem anderen Projekt, und auch Sie haben möglicherweise Verschnitte herumliegen. Andernfalls, unser maßgeschäumt Der Service ist wirklich praktisch, wenn Sie wissen, dass Sie eine bestimmte Größe von Schaumstoff benötigen, da wir ihn für Sie maßgefertigt herstellen.
Ausgerüstet, wie immer, mit unserem zuverlässigen Shadow Foam Schneidset (und tragen die wichtigen Schutzhandschuhe) legen wir los. Wir wenden unser übliches cutting Technik zur Erstellung des Formprofils für den Einsatz durch Nachschneiden entlang der Umrisse der Vorderseite des Gehäuses. Von dort aus können wir das Gehäuse entfernen und mit unserem Shadow Foam Skalpell den Schnitt erneut umfahren, bis wir vollständig durchgeschnitten haben. Drohnenetui Drohnenaufbewahrung
Sobald Sie die Grundform ausgeschnitten haben – probieren Sie sie auf die Größe. Dann schneiden und verfeinern Sie sie, bis sie perfekt in das Gehäuse passt. Für uns bedeutete das auch, einen Radius um die innere Kante zu schneiden. Dies ermöglicht die verstärkten Nähte auf der Innenseite des Gehäuses.

Anpassung der Inhalte für die Drohnenhülle
Als nächstes kommt der wirklich spaßige Teil… zu planen, wie Sie Ihre Ausrüstung anordnen möchten. Wir sagen immer in unserem Schattenpolsterungsanleitungen, dass die Planung der wichtigste Teil des Prozesses ist. Stellen Sie also sicher, dass Sie mit Ihrem Layout völlig zufrieden sind, bevor Sie mit dem Schneiden beginnen.
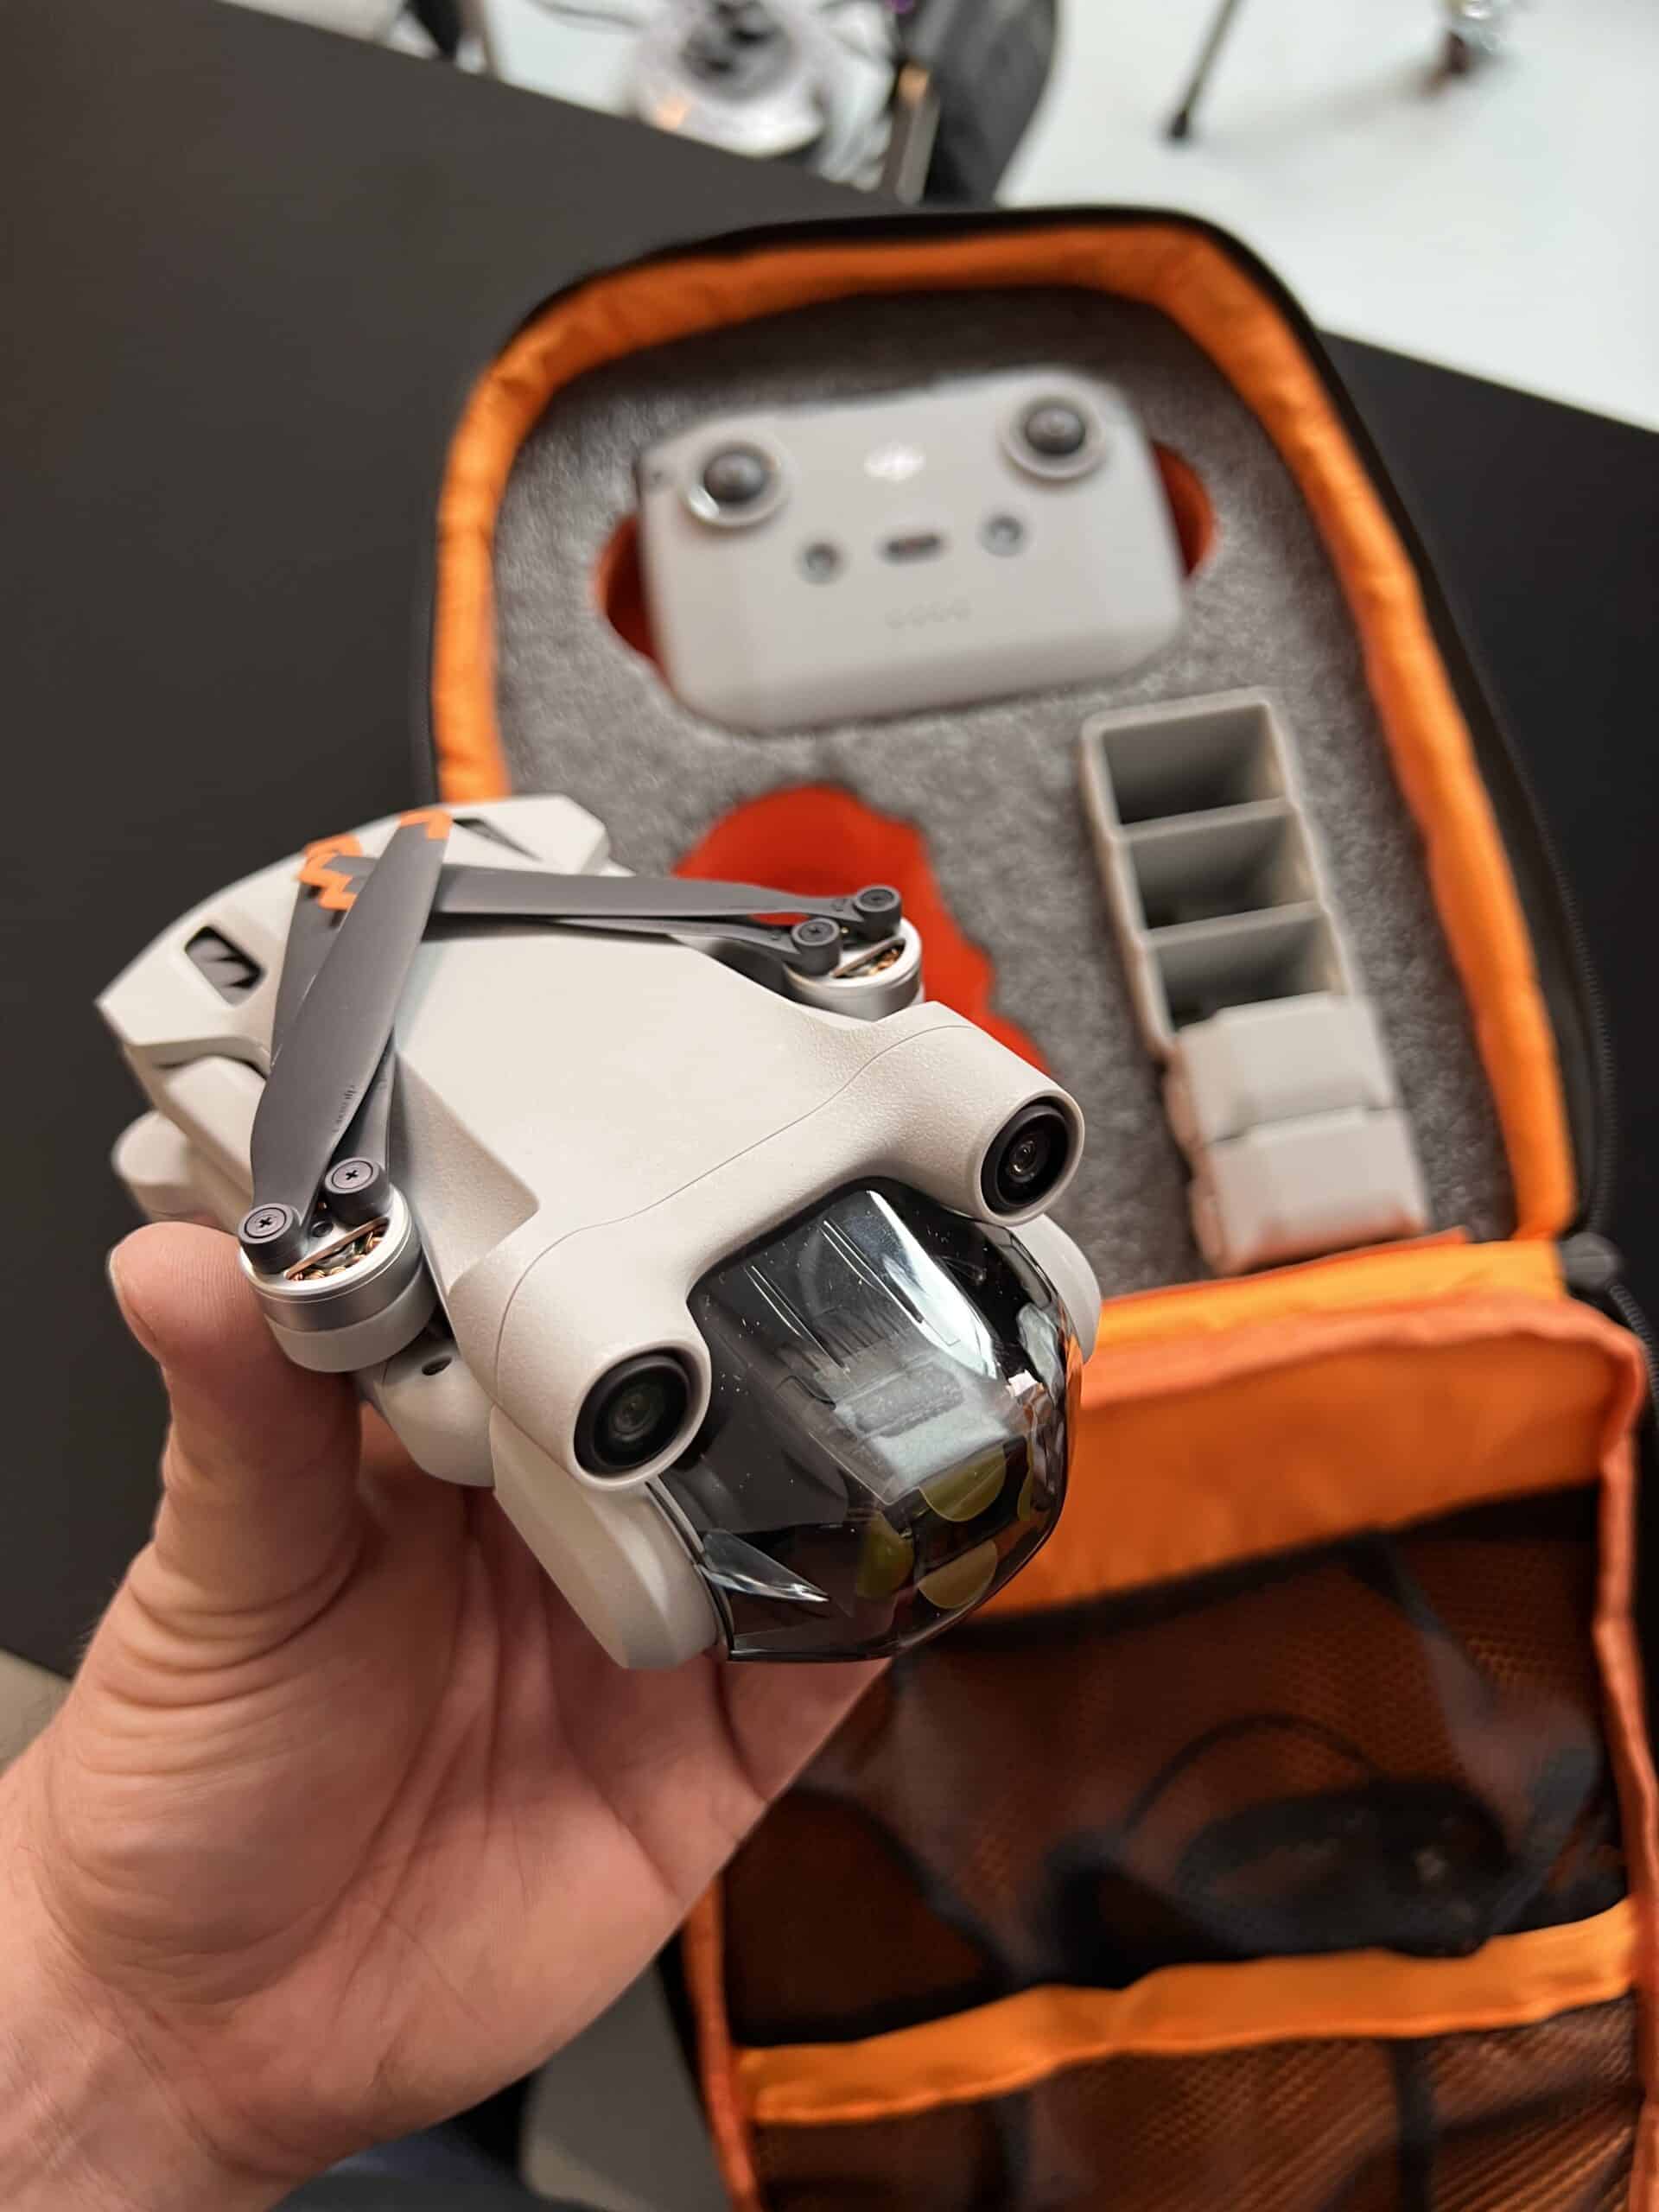
Die gleiche Schneidetechnik wie zuvor gilt. Während wir nacheinander um jeden Artikel herum schneiden, gehen wir dann zurück und schneiden bis zur gewünschten Tiefe. Von dort aus ist es Zeit zu schälen. Dafür empfehlen wir Ihnen immer, unser „wie man”Anleitungen, um sich mit den besten Techniken dafür auszustatten. Wir waren bei diesem Projekt ein wenig einfallsreich mit dem Platz. Da wir hier ein tiefes Schaumstoffblatt haben, konnten wir eine doppelte Schicht anbringen. Unter dem RC-Handcontroller haben wir einen zusätzlichen kleinen Abschnitt ausgeschnitten, um die Ersatzpropeller und Werkzeuge zu lagern.
Als zusätzliches Merkmal, um die Nutzung praktischer zu gestalten, haben wir auch unser Shadow Foam Schablonensatz Um Fingerzüge hinzuzufügen. Dies wird es einfacher machen, die Artikel aus dem Schaumstoff zu holen, und sieht auch ziemlich cool aus.
Wir wollten es auch zukunftssicher machen und Platz für zusätzliche Batterien schaffen, die Evan zur Kollektion hinzufügen würde. Dies haben wir erreicht, indem wir die vorhandenen Batterien und das Gehäuse des Batterieladegeräts separat ausgeschnitten haben. Das bedeutet letztendlich, dass dort Platz für 5 Batterien wäre, was eine Gesamtflugzeit von fast 3 Stunden ergibt.

Der fertige Artikel
Evan war mit seinem Fall wirklich zufrieden, sagte er,
“Ich erklärte, dass ich die Drohne in einem Rucksack schaumgepolstert haben wollte, der alles enthielt, was ich benötigte, um die Drohne mit völliger Leichtigkeit fliegen zu können und sie ebenso schnell wieder einpacken zu können. Jona hatte sofort eine Idee und sagte, ich solle die Drohne zur Einheit bringen. Nach kurzer Zeit hatte ich sie zurück und als er sie mir zeigte, war ich völlig überwältigt!”
Ich kann nicht glauben, wie langlebig und verarbeitbar der Schaum ist. Alles, was ich verlangt habe, und noch mehr wurde berücksichtigt, und das ist unbezahlbar. Ich fühle mich super sicher, dass mein Stolz und meine Freude sicher und geschützt in einem Rucksack sind, mit einfacher Entfernung für den Flug und das alles zu einem ausgezeichneten Preis!“
Wir freuen uns sehr, Ihnen helfen zu können, Evan. Gute Flüge!


 Kostenloses Schneideset bei qualifizierten Bestellungen
 Über 4.000 positive Bewertungen
 Mehr als 500 Videos auf YouTube
 Unterstützung in Großbritannien