Daily order cutoff at 2pm

Organising a workshop - the Shadow Foam way!
When it comes to organising a workshop, here at Shadow Foam HQ we really do practise what we preach. It doesn’t have to be budget-busting either, a lot of what we’ve achieved here has been done on a shoestring. We’ve re-purposed, re-cycled and even come up with our own homemade workbench. If your workshop goals include getting organised and saving yourself money longer term, then check out our workshop tour and see if our ideas can help you.
The Shadow Foam workshop
We often hear that people think we don’t use our tools here as they’re too clean! In reality, there are tools being used here every day! But taking a pride in how they look and cleaning them after use is part of what we do to maintain the longevity of them… as well as them looking pretty when they’re in their storage too of course! But because our workshop doubles as our studio where most of our Youtube content is filmed, it’s an important part of that too. We want our workshop to be a showcase for just what can be done using Shadow Foam. And as it’s on display in most of our videos it’s important to us that we keep it looking good.
Organising a workshop has been key to us as we need to find what we need quickly in a busy organisation like ours. Jonathan had some huge workshop goals when we moved into our new unit a couple of years ago. With everything that’s gone on in that time, it’s taken us a while to get here. But now we’re there, we’d love to share what we’ve done in the hope it can inspire others.
Milwaukee power tool wall
This was actually the last piece of the puzzle in our workshop. It was made to replicate our Makita power tool wall but with a few contrasting details. And as it turns out we have found ourselves with an empty wall now anyway as all the Milwaukee power tools we stored in it have gone to a very good new home. With Colin Furze! But take a look at how the make went while it was all still here! And if you want some hints and tips on how you can recreate this yourself, then check out this guide.
Makita power tool wall
When we replaced our original Power Tool Wall that so many had loved, we really needed to level it up so as not to disappoint people. We wanted to make the new one from the newer grade of Shadow Foam which would be more durable and last a lot longer. We also added in some neat little supports to make it better at bearing weight where the heavier items were, and came up with complimentary solutions for the circular saw and batteries. Here you can learn a little more about how the project panned out. Or watch the full make of the new wall here and let us know what you think!
Clarke tool chest
There are a lot of drawers in our big red Clarke tool chest, so this has been quite a job. The drawers were already decked out in our old, now discontinued Shadow Foam original. So it was time to bring it up to date with our more durable Shadow Foam and that meant working our way through the drawers one by one.
French cleat tool wall panels
This was one of our favourites and was something Jonathan wanted to do for some time. It was such a detailed project it originally went out as two videos when we first did it. We think this has not only made for a functional storage solution. But it’s also made for a really cool backdrop in our workshop / studio too. The main benefit of this is that being made of individual panels, we can take panels elsewhere as needed and replace when done. Makes it really convenient rather than with non-removable tool storage walls like we’ve done before. People seem to love an Ikea hack especially when you’re organising a workshop, so we created a more detailed guide on how this was done here.
Homemade workbench
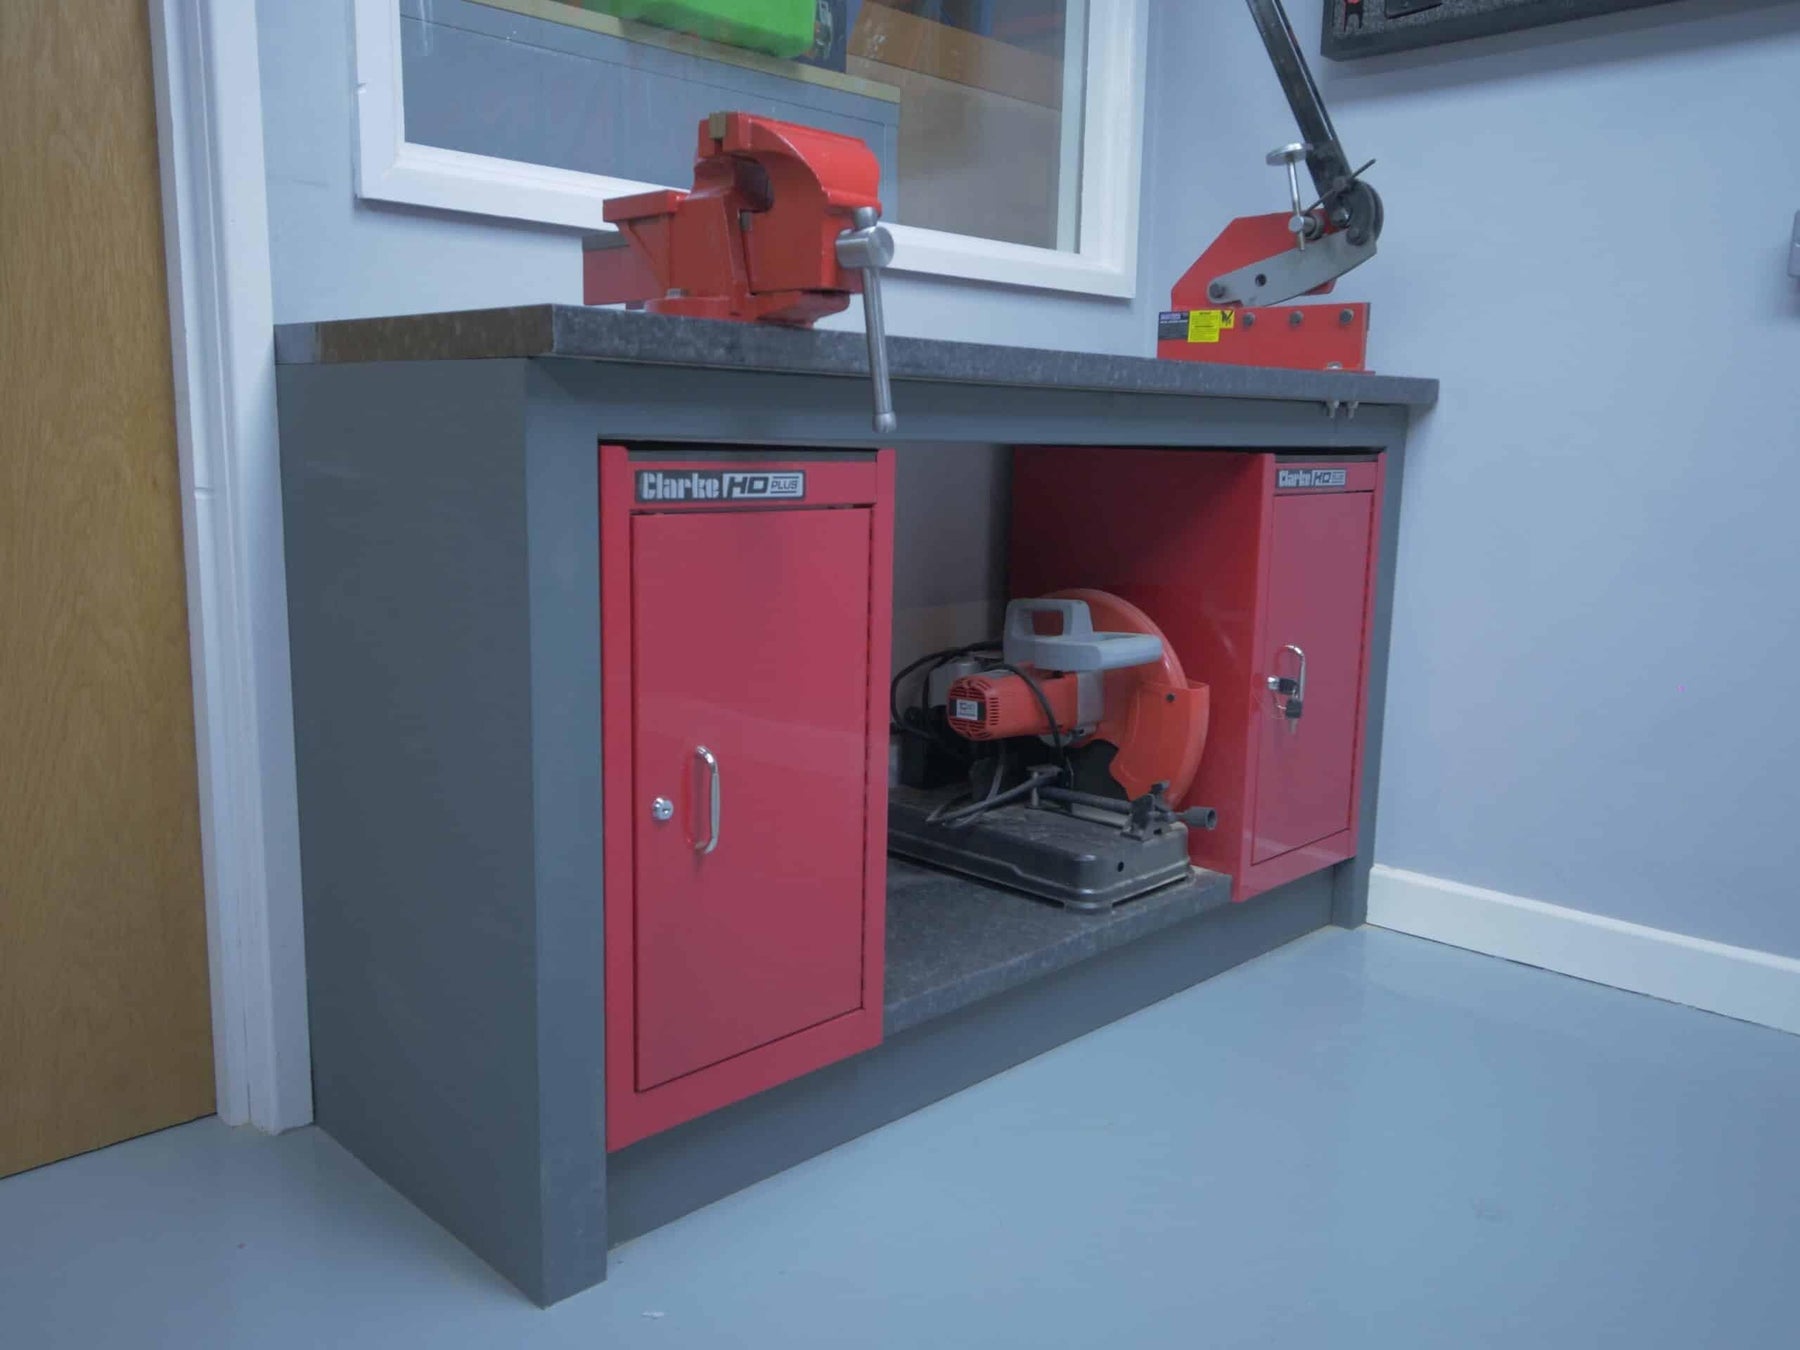
People went nuts for our “How to make a workbench on a budget” idea. We always try to re-purpose and up-cycle when we can rather than buy new. So when we set out to create a practical and cool looking homemade workbench for less than £150, many thought it couldn’t be done. But we managed it! Re-purposing our old Clarke cabinets certainly helped. You can see how it was done here if you fancy giving it a go yourself! If your workshop goals include a cheap and functional workbench then this could be for you.

The end result?
Check out the full tour here, and as always we’d love to hear what you think!


