Chiusura giornaliera degli ordini alle 14:00
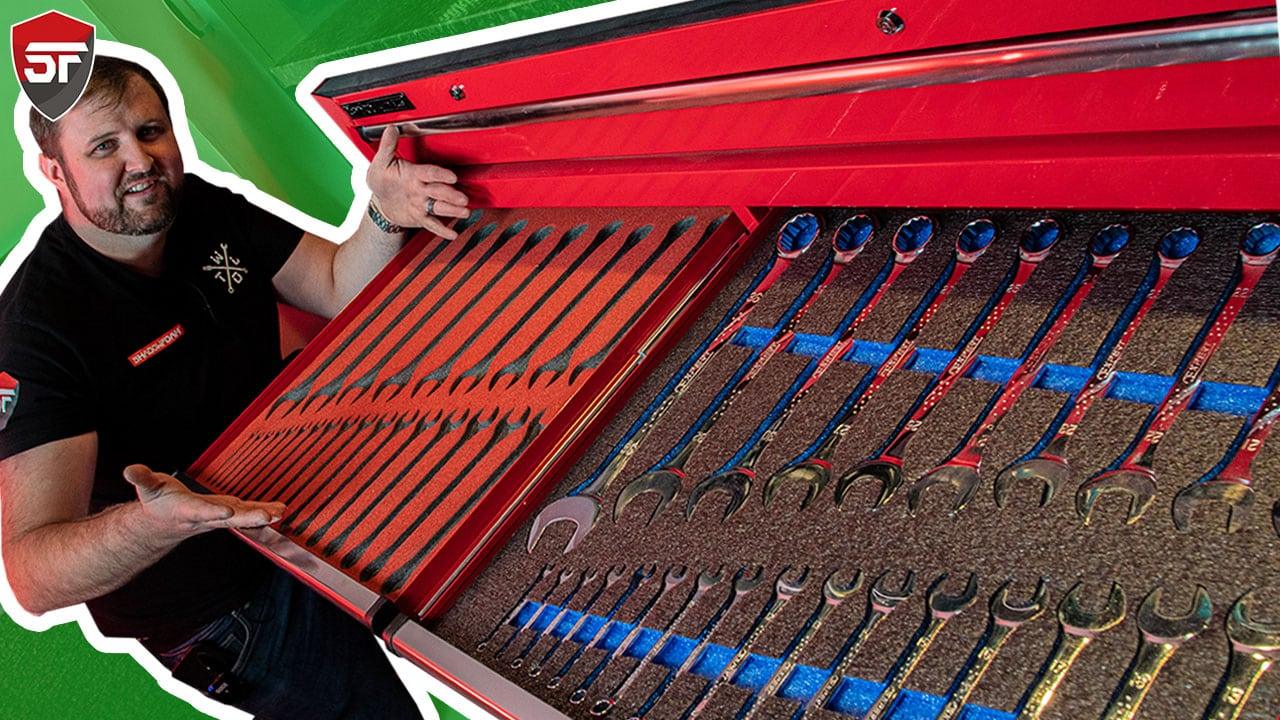
Aggiornare i tuoi cassetti porta attrezzi è più facile di quanto pensi!

La cassetta degli attrezzi di Jonathan Clarke... dove tutto ha avuto inizio!
Con questa trasformazione torneremo al punto in cui tutto è iniziato per noi. La nostra cassettiera portautensili con rotelle Clarke Tools ha una formazione di 6 + 6 cassetti con un grande cassetto nella parte superiore. Questa era la cassetta degli attrezzi di Jonathan quando ha lavorato per la prima volta sugli strumenti come ingegnere di manutenzione e aveva bisogno di un sacco di strumenti diversi per lavori diversi. Ed è stato allora che si è reso conto che doveva esserci un modo per impedire agli strumenti di rotolare qua e là ogni volta che si aprivano i cassetti. È da lì che nasce Shadow Foam. Oggi iniziamo creando un organizer per cassetti degli attrezzi per le chiavi Britool Expert.
È tempo di aggiornare: dall'originale alla nuova Shadow Foam
Ma è tempo di un aggiornamento. Dall'immagine sopra puoi vedere che originariamente avevamo attrezzato i cassetti con il nostro Shadow Foam Original. Ma questo è successo parecchio tempo fa ormai. Quindi è ormai giunto il momento di trasformarli con la nuova Shadow Foam e di aggiornare i cassetti degli strumenti Clarke.
Sarà un progetto piuttosto grande da rifare ogni cassetto! Quindi inizialmente inizieremo con un solo cassetto . Per questo abbiamo bisogno di fogli di 620 x 530 mm e volevamo rivestimenti profondi 50 mm. Abbiamo ricevuto fogli personalizzati dalla nostra gamma di prodotti su ordinazione poiché avevamo un paio di giorni di attesa per la loro realizzazione. Ma avremmo potuto facilmente tagliare su misura una delle nostre lastre standard di medie o grandi dimensioni se ne avessimo avuto bisogno rapidamente. Tutti i fogli standard vengono forniti con il servizio di consegna il giorno successivo, scorte permettendo.
La nostra schiuma è reversibile, quindi possiamo scegliere di utilizzare il lato colorato o quello nero. Qui, tagliando la superficie nera, mostrerà il profilo dell'utensile quando lo taglierai. Abbiamo una gamma completa di chiavi Britool Expert, quindi è quello che vogliamo conservare in questo cassetto.
Organizzazione del layout delle nostre Chiavi Britool Expert
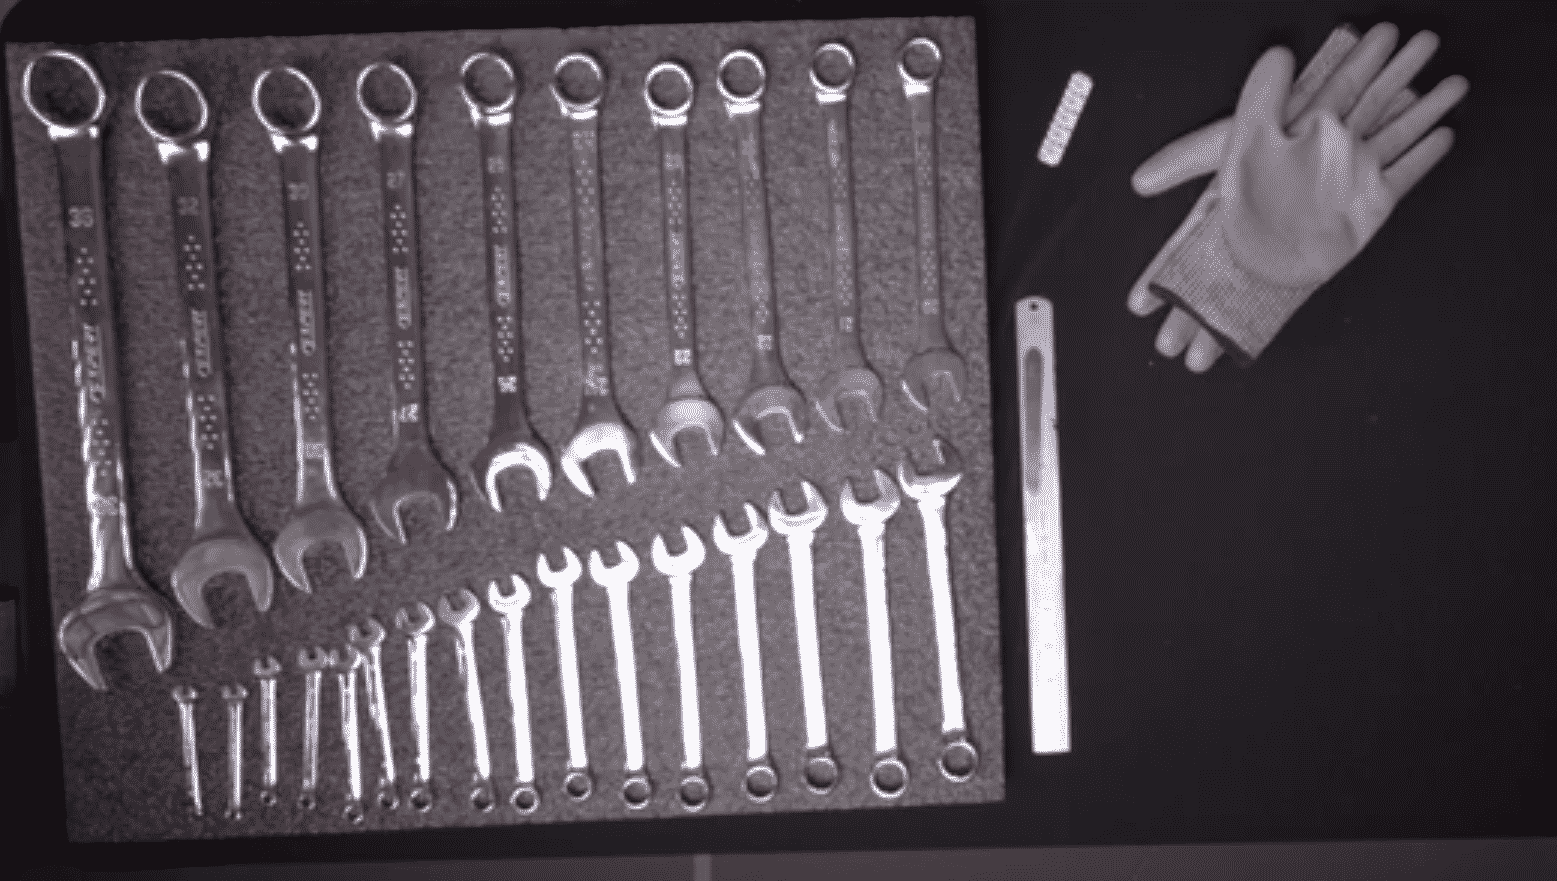
Abbiamo l'organizer in schiuma per cassetti degli attrezzi pronto all'uso, insieme ai nostri strumenti e al nostro kit da taglio. Per noi, inizieremo prima con le chiavi più grandi. Sappiamo quindi che quelli più piccoli si adatteranno bene a loro. Alcuni potrebbero mettere in discussione la nostra economia dello spazio con questo! Abbiamo esposto tutte le chiavi piatte anziché posizionarle su un lato e potenzialmente occupare molto meno spazio. Per noi abbiamo il lusso di tutto lo spazio di cui abbiamo bisogno e sicuramente non compreremo più chiavi inglesi tanto presto! Quindi praticamente ne abbiamo appena tratto il massimo. Ma un buon consiglio se non hai tutto lo spazio che vorresti è quello di tenere le chiavi sul bordo e risparmiare un sacco di spazio.
È ora di tagliare: la sicurezza prima di tutto!
Come sempre indosseremo guanti da taglio. Se non ne possiedi già un paio, li forniamo nei nostri kit da taglio . Ti consigliamo di indossarli sempre quando tagli o maneggi le lame poiché sono molto affilate. Quindi è semplice come tenere l'oggetto nel punto in cui vuoi che vada e tracciare il taglio attorno ad esso. Successivamente, rimuovere l'utensile e quindi tornare indietro tagliando alla profondità desiderata. E ripeti. (nel nostro caso, ripeti MOLTO... ci sono 26 chiavi Britool solo in questo cassetto!) Per ulteriori indicazioni sul taglio, controlla il nostro breve video "come tagliare" qui . Potresti non avere un enorme sistema di strumenti Clarke, ma qualunque sia il tuo strumento, vale sempre la pena rinfrescarti sulle tecniche. Allora è il momento di sbucciare!
Pelare gli strati
A seconda dello spessore della schiuma che utilizzi per l'organizzatore del cassetto degli attrezzi, avrà un numero diverso di strati. Come linea guida, il nostro foglio da 50 mm che stiamo utilizzando contiene 5 strati di circa 10 mm ciascuno. Ti consigliamo sempre di staccare uno strato completo per ottenere i migliori risultati.
Tuttavia diciamo sempre che non aspettatevi che si sbucci troppo facilmente. Se così fosse, la schiuma non sarebbe così robusta e non durerebbe tanto quanto. Quindi non afferrare l'angolo e tirare come se stessi sbucciando una banana, ci vorrà più sforzo. Per prima cosa assicurati che la lama sia lontana e rimuovi i guanti per facilitare l'operazione. Quindi usa le dita per solcare lo strato per tirarlo via mentre procedi e verrà via bene. Per maggiori dettagli guarda il nostro utile video “come fare” sul peeling qui .
Qualcosa da notare è che se, come noi, la base della chiave ad anello o qualunque strumento tu stia tagliando si solleva un po' o si erge orgoglioso, potresti voler modificare. Basta rimettere i guanti e tornare indietro con la lama per tagliare ancora un po' quella sezione. Ciò consente alla chiave di aderire perfettamente alla schiuma in modo che siano tutte ben posizionate e a filo.
Inserire e rimuovere facilmente gli strumenti
Se i tuoi strumenti sono tutti belli e a filo, potresti prendere in considerazione l'aggiunta di tiranti per le dita. Questa è un'aggiunta semplice che ti permetterà di afferrarli bene. Faremo il nostro utilizzando il nostro strumento a bordo dritto e tagliando lungo i profili delle chiavi. Abbiamo prima controllato quanto sporge il bordo dei cassetti sul retro della cassetta degli attrezzi Clarke. Non vogliamo che ciò oscuri i movimenti delle dita e renda difficile l'estrazione delle chiavi. Ora possiamo posizionarlo ordinatamente dove sappiamo di poterlo raggiungere facilmente. Quindi taglia semplicemente i tiranti con le dita usando la stessa tecnica di taglio e sbucciatura che hai visto in precedenza.

Il risultato finale...?
Riteniamo di aver davvero fatto un buon aggiornamento qui. La schiuma da 50 mm ci consente di sollevare l'organizer del cassetto degli attrezzi se necessario con tutte le chiavi Britool al suo interno, e non si piegherà o si abbasserà come avrebbe fatto con la schiuma originale più sottile. Inoltre, poiché è lavabile, non importa se si sporca di olio o solventi. Questi possono essere puliti ora invece di assorbire semplicemente macchie o schizzi come avrebbe potuto fare il vecchio tipo di schiuma. Inoltre, poiché Shadow Foam è ora riciclabile laddove l' originale non lo era, ora possiamo inserire i nostri ritagli nel riciclaggio. Quindi è molto più sostenibile e più durevole!
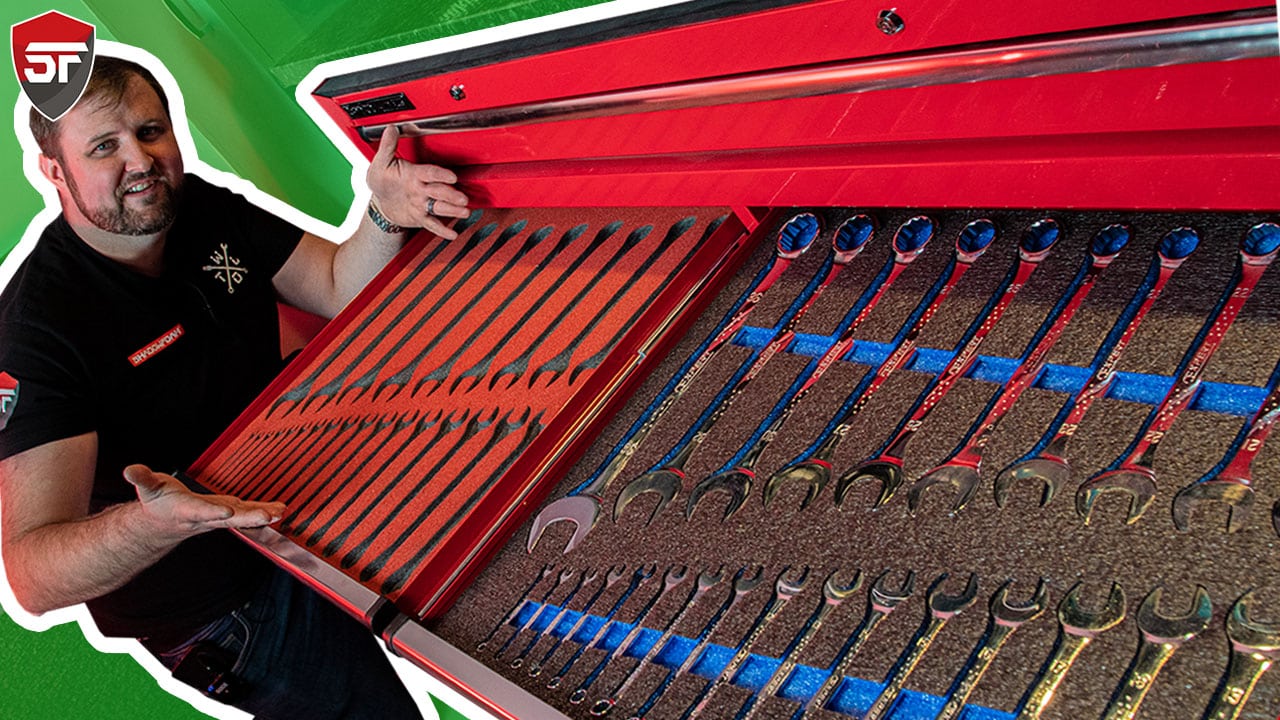
Quindi, questo è un cassetto in basso nella nostra epica trasformazione di Clarke Tools! Cercane altri perché abbiamo l'intera cassetta degli attrezzi Clarke da affrontare e aggiornare molto presto!














 Kit di taglio gratuito per ordini qualificati
 Oltre 3.000 recensioni positive
 Oltre 500 video su YouTube
 Assistenza nel Regno Unito