Cierre de pedidos diario a las 2 p.m.
¡Dándole la vuelta y herramientas de oferta!
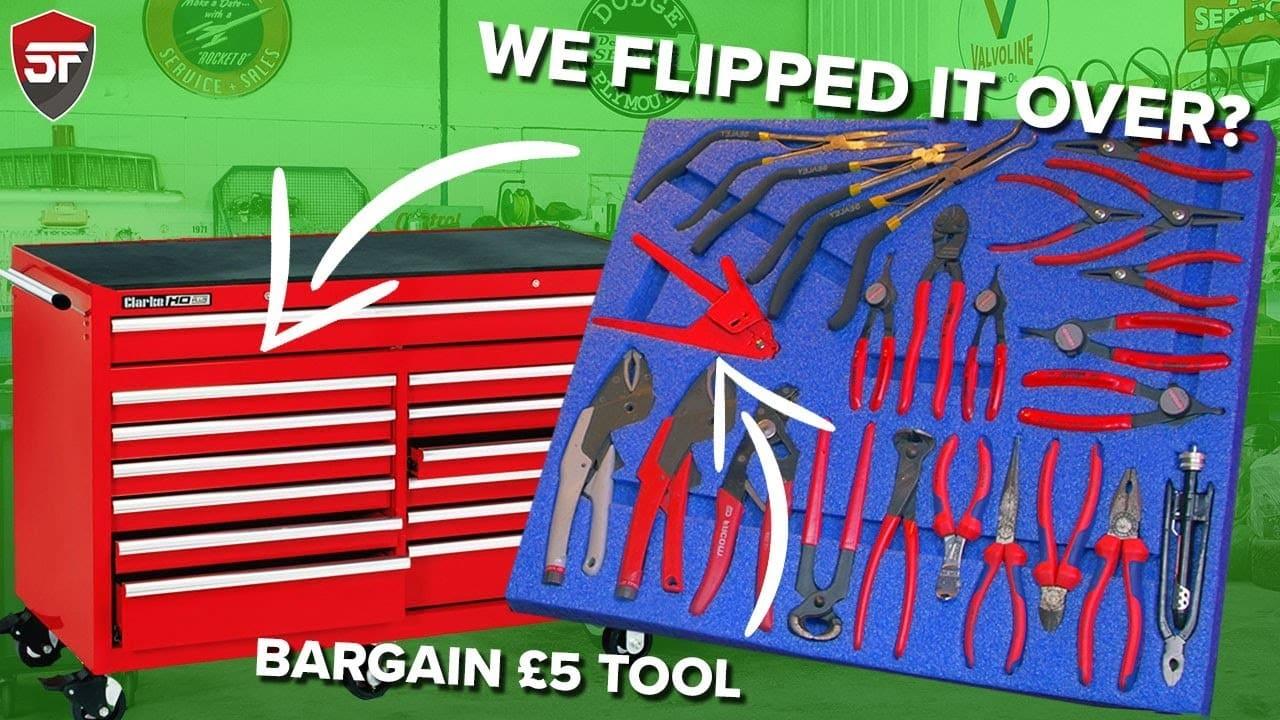
posible que nos hayas visto abodar el primer organizador de cajones de herramientas de nuestro enorme baúl de herramientas Clarke. la semana pasada. Así que ahora es el momento para la segunda parte de nuestra serie de soluciones de almacenamiento de herramientas manuales. Siempre nos encanta cómo el reverso de Colour en la espuma se muestra a través del perfil de la herramienta, por lo que hace que sea súper obvio cuando falta algo. Pero, ¿has pensado en cómo podrías trabajar con el reverso de la espuma? Nuestra espuma viene en una gama de Colour impresionantes, ¡así que es una pena no verlos más! Pero podrías querer algo un poco más brillante, para coincidir con la marca de la empresa o dar un buen contraste. Tenemos una gran gama de alicates y pinzas para los que queremos hacer almacenamiento, incluyendo algunas pinzas de presión de Facom Tools. Así que echa un vistazo a cómo podemos usar el Colour para lograr un gran efecto y organizar estas herramientas.
Cómo vamos a trabajar con el Colour.
El proyecto de esta semana será sobre nuestro cajón de alicates. Esto se hizo por primera vez hace unos 7 años con nuestro Shadow Foam Original. Se ha mantenido muy bien considerando que los cajones se usan con bastante frecuencia. Pero es hora de una actualización a nuestro nuevo grado de espuma. Vamos a optar por una pieza de espuma base Blue de 50 mm de tamaño personalizado. Podemos cortar espuma personalizada al tamaño exacto que desee con un tiempo de entrega de solo 3-4 días hábiles.
Planificar el diseño siempre es uno de los trabajos más difíciles. Tómate el tiempo para asegurarte de que el diseño funcione perfectamente para ti. Sin embargo, en este caso, ¡ya hemos hecho el trabajo duro! Mantendremos prácticamente el mismo diseño que el cajón de alicates original, así que puedes copiar eso.
Usando el escalpelo y las cuchillas que vienen en ambos nuestros paquete básico de corte or kit de corte completo hora de comenzar cutting. Como siempre, te recomendamos que uses guantes de corte de seguridad al cortar o manipular las cuchillas. Estos vienen en el kit de corte, así que vale la pena conseguir uno junto con tu espuma.
¿Qué hay en el cajón?
El primer artículo que estamos introduciendo es una de las herramientas más antiguas de Jonathan; un juego de tenazas recubiertas de polvo de Facom. Estas son las que le dieron una verdadera apreciación por conseguir la mejor herramienta que puedas obtener para el trabajo. Una vez que ha cortado alrededor de la herramienta, vuelve a cortar hasta la profundidad requerida. Una vez que hayas terminado de cortar, quítate los guantes y es hora de peel. Es importante señalar que no hay absolutamente ninguna diferencia para usted al cortar y pelar el lado coloreado de la espuma que al hacerlo en la superficie Black. Será exactamente lo mismo.

Otra herramienta que va en este cajón fue nuestro "artículo misterioso" en nuestro último video. Muchas personas adivinaron correctamente que es un tensador y cortador de bridas. Nuevamente, es otra herramienta Facom y generalmente se venden al por menor por £65.00. Sin embargo, Jonathan tuvo mucha suerte y los encontró por una ganga de £5 en una tienda de bricolaje local.
Debido a que estas son herramientas manuales, vamos a necesitar tiradores de dedo para poder sacarlas y meterlas fácilmente. Esa es la gran diferencia, aparte del Colour, en comparación con el diseño original. Añadimos estos usando nuestro 1m borde de corte recto eso también está disponible en nuestra tienda en línea. Esto nos ayuda a lograr una línea realmente larga y ordenada. Es una técnica simple y se ve muy efectiva.

Colores increíblemente brillantes!
We test fit the finished tool drawer organiser into the drawer as always, and it’s perfect. We love the vibrancy of the bright blue against the shape of the tools. Of course this doesn’t give you that contrast when you cut the tools in as you would usually get when cutting through the black layer into the coloured foam. So this way, it’s not quite as obvious if something is missing. But when you compare the two drawers side by side, they really compliment one another.

Entonces, de los dos organizadores de cajones de herramientas - tapa de color o base de color - ¿cuál es tu favorito? Déjanos saber qué piensas.














 Kit de corte gratuito en pedidos válidos
 Más de 3.000 críticas positivas
 Más de 500 vídeos en YouTube
 Asistencia en el Reino Unido