Daily order cutoff at 2pm
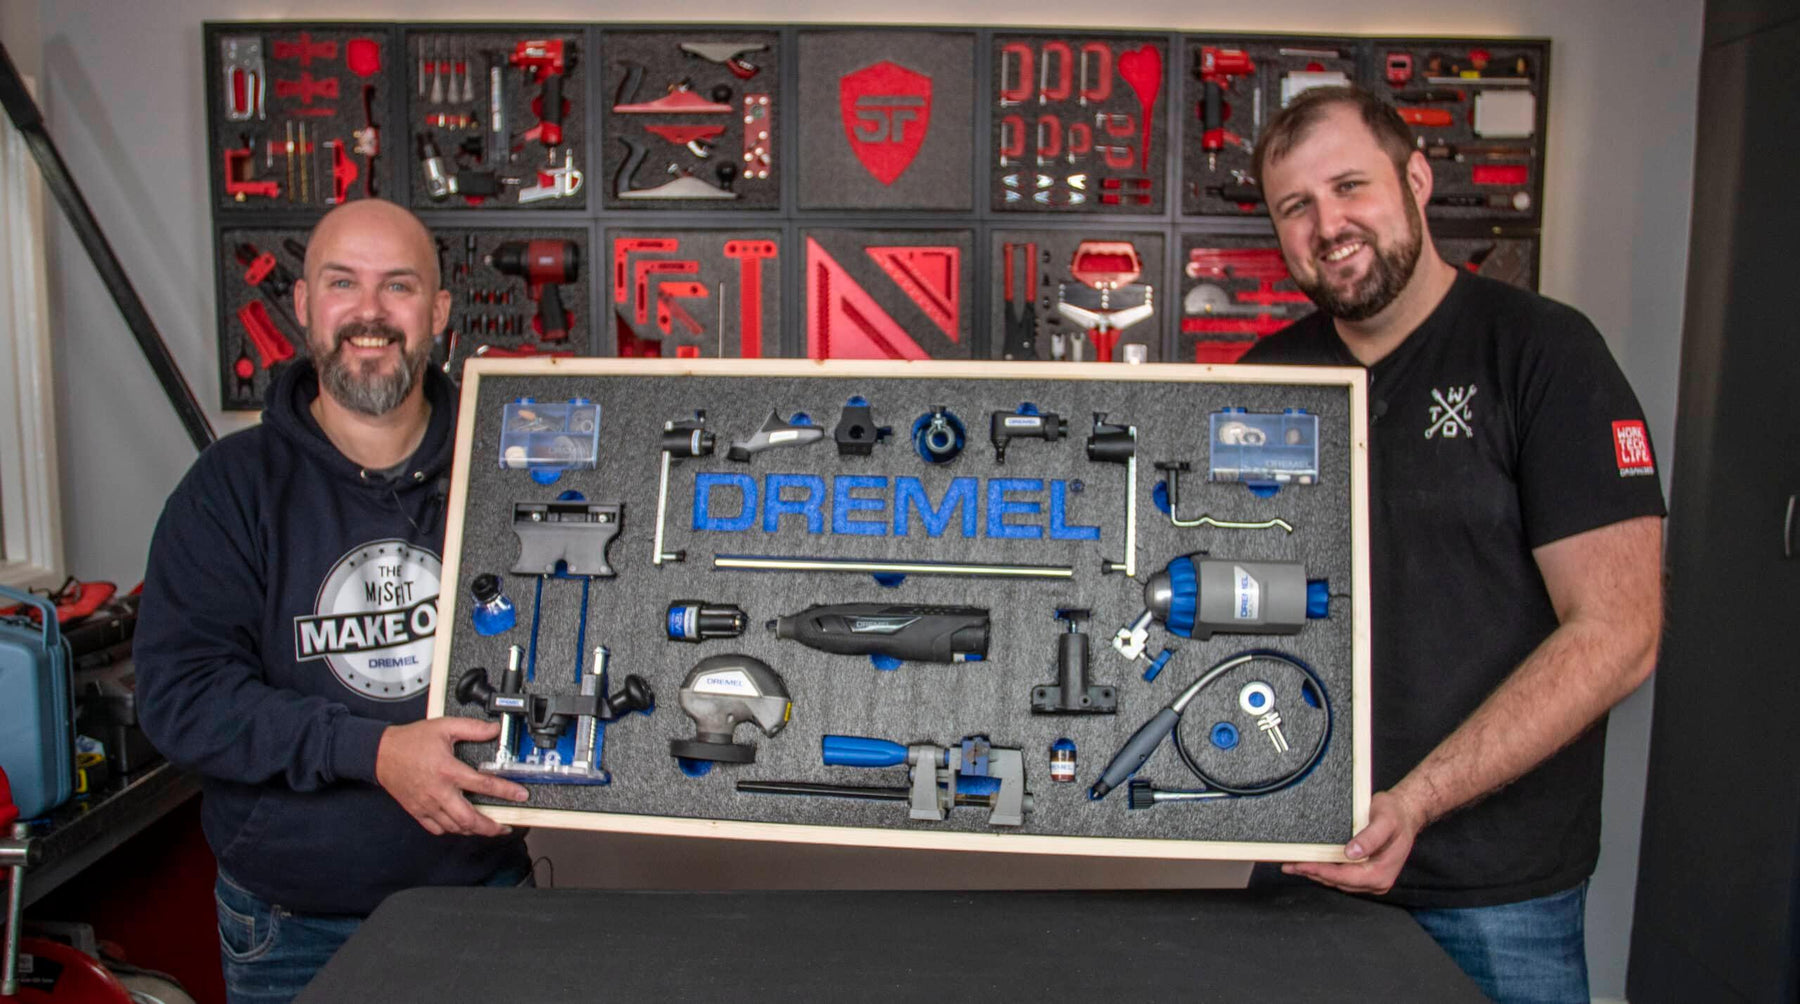
Where your Dremel becomes a piece of art.
You may have come across our affiliate Peach Tree Crafting‘s work before. But if not, what you should know is that Dremel tools are very much his thing. So, when he wanted to create a tool wall for his tools and Dremel accessories, we were only too happy to help out.
About Peach Tree Crafting
Mark of Peach Tree Crafting is a maker, crafter, content maker and problem solver. When not working he’s usually hard at work in his Lancashire-based workshop crafting.
He became a Shadow Foam affiliate earlier in 2022. A year he dubbed “the year of the jerry can” and what a year it’s been. Now, he’s pretty widely known for his epic jerry can Dremel tool storage makes. And has even started getting more adventurous with his jerry can builds. dremel tool dremel accessories

The Dremel tool wall plan
Like us, Peach Tree make Youtube content. So the tool wall is to be a vital and practical space saving storage solution. As well as being a stunning backdrop for his videos. Mark had already made the frame for his wall. It was made to the exact dimensions of our 1m x 0.5m Medium sheets, so the foam fitted perfectly. For this project, Mark chose the blue foam to match the Dremel branding, and went for the 70″ deep option.

Next steps….
With the blank foam neatly housed in Mark’s frame, we just need to plan what goes where. The guys spent a lot of time doing that. Essentially ensuring that whatever Mark needed most readily to hand was easily accessible. But then that everything else could slot around it.
The wall would also incorporate the Dremel logo. So for no reason other than aesthetics, we wanted everything else to look nice and symmetrical, wherever possible. With a couple of tweaks here and there, the pair came up with the layout they wanted. As always, they took a photo to act as a visual reference as they worked. So then it was time to get cutting!
If you’re taking on a storage wall project like this, it would be well worth checking out some of the past projects. We’ve shared lots that both we and others have worked on. Also our guide to Shadowfoaming should give you a lot of the tips and tricks you need to know before getting started too. And as always we recommend you visit the “How to” section of our website. This gives you lots of guides on the best techniques for cutting, peeling and smoothing the foam.
Getting started
For this project, the guys decided to start with the Dremel tool logo (remember, measure twice / cut once!). They made sure it was nice and straight on the foam – this was done by printing the logo on paper. It’s then stuck to the foam with tape so it doesn’t slide around as you cut out the lettering. Then peel in the usual means, just enough to reveal the coloured foam beneath. It looks really effective and every bit as professional as if it had been machine cut.
From there it was just a case of working our way through all the tools cutting them into the foam. Obviously we ensured we used our trusty Shadow Foam cutting kits so we had the best sharp blades and safety gloves too. There were some really challenging items to cut into this wall, so it’s well worth checking out our video of the make to see how we overcame them.

And the finished result….?
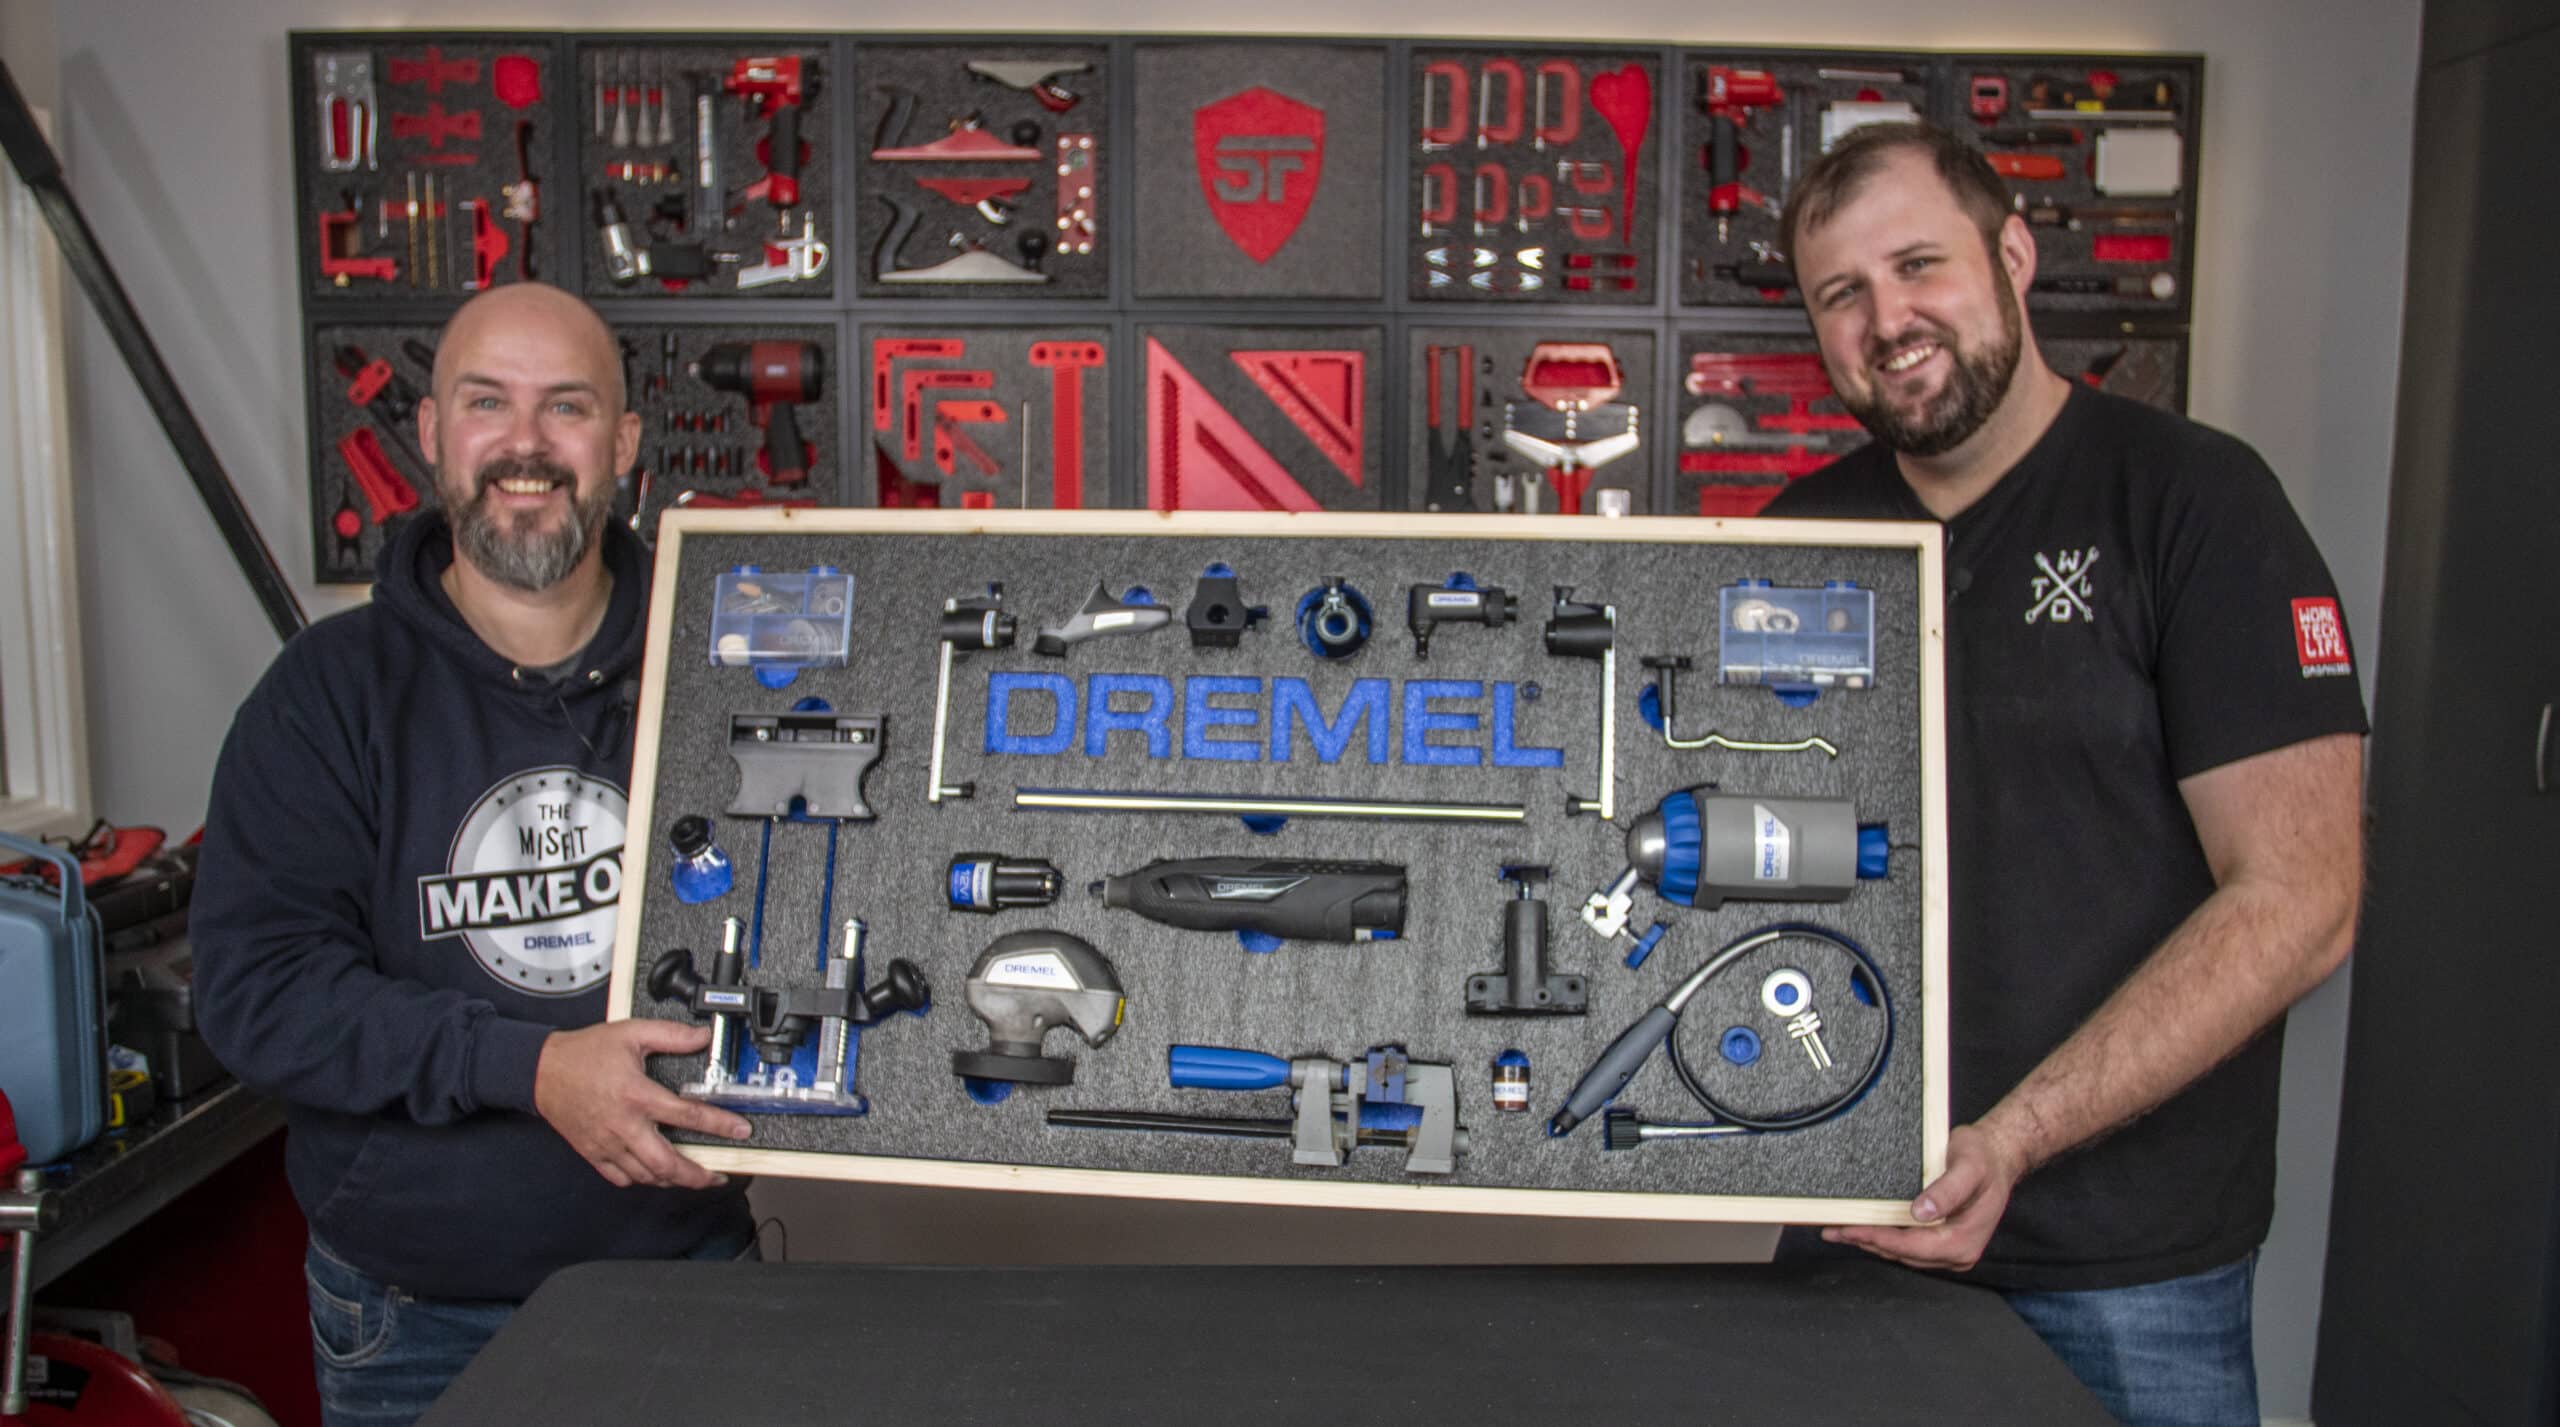
Well we think it looks epic. As Jonathan said this is the biggest panel tool wall we have undertaken so far, and Mark seems pretty pleased with it! Being set in a frame like this, much like with our French cleat tool wall system which can also be seen below, has other benefits too. Because it’s a removable panel, it means if you ever want to move it or use it elsewhere, it’s easy to take down and move. That means it’s potentially a lot more flexible longer term than more permanent tool wall, like our Makita tool wall.
Mark also treated us to a peek at his latest creation. A jerry can mini-bar for his workshop! By fixing it to a wall, the fold-down door basically becomes the bar top. Meaning he can pour his favourite tipple into one of the glasses he positioned side by side with the bottle in the Shadow Foam inlay he created for the can. What a unique, yet practical creation! Who doesn’t want this in their workshop!?




















 Free Cutting Kit on qualifying orders
 Over 4,000 positive reviews
 500+ videos on YouTube
 UK Based Support