order before 2pm

Storing large or complex items in foam
It’s a question we get asked a lot, especially in relation to things like circular saws. We had a DeWalt circular saw that we wanted to store in our Tough System 2.0. So, if you want to learn how to cut awkward or large items in Shadow Foam then give our How To video a watch. storage for circular saw

Storing our DeWalt circular saw
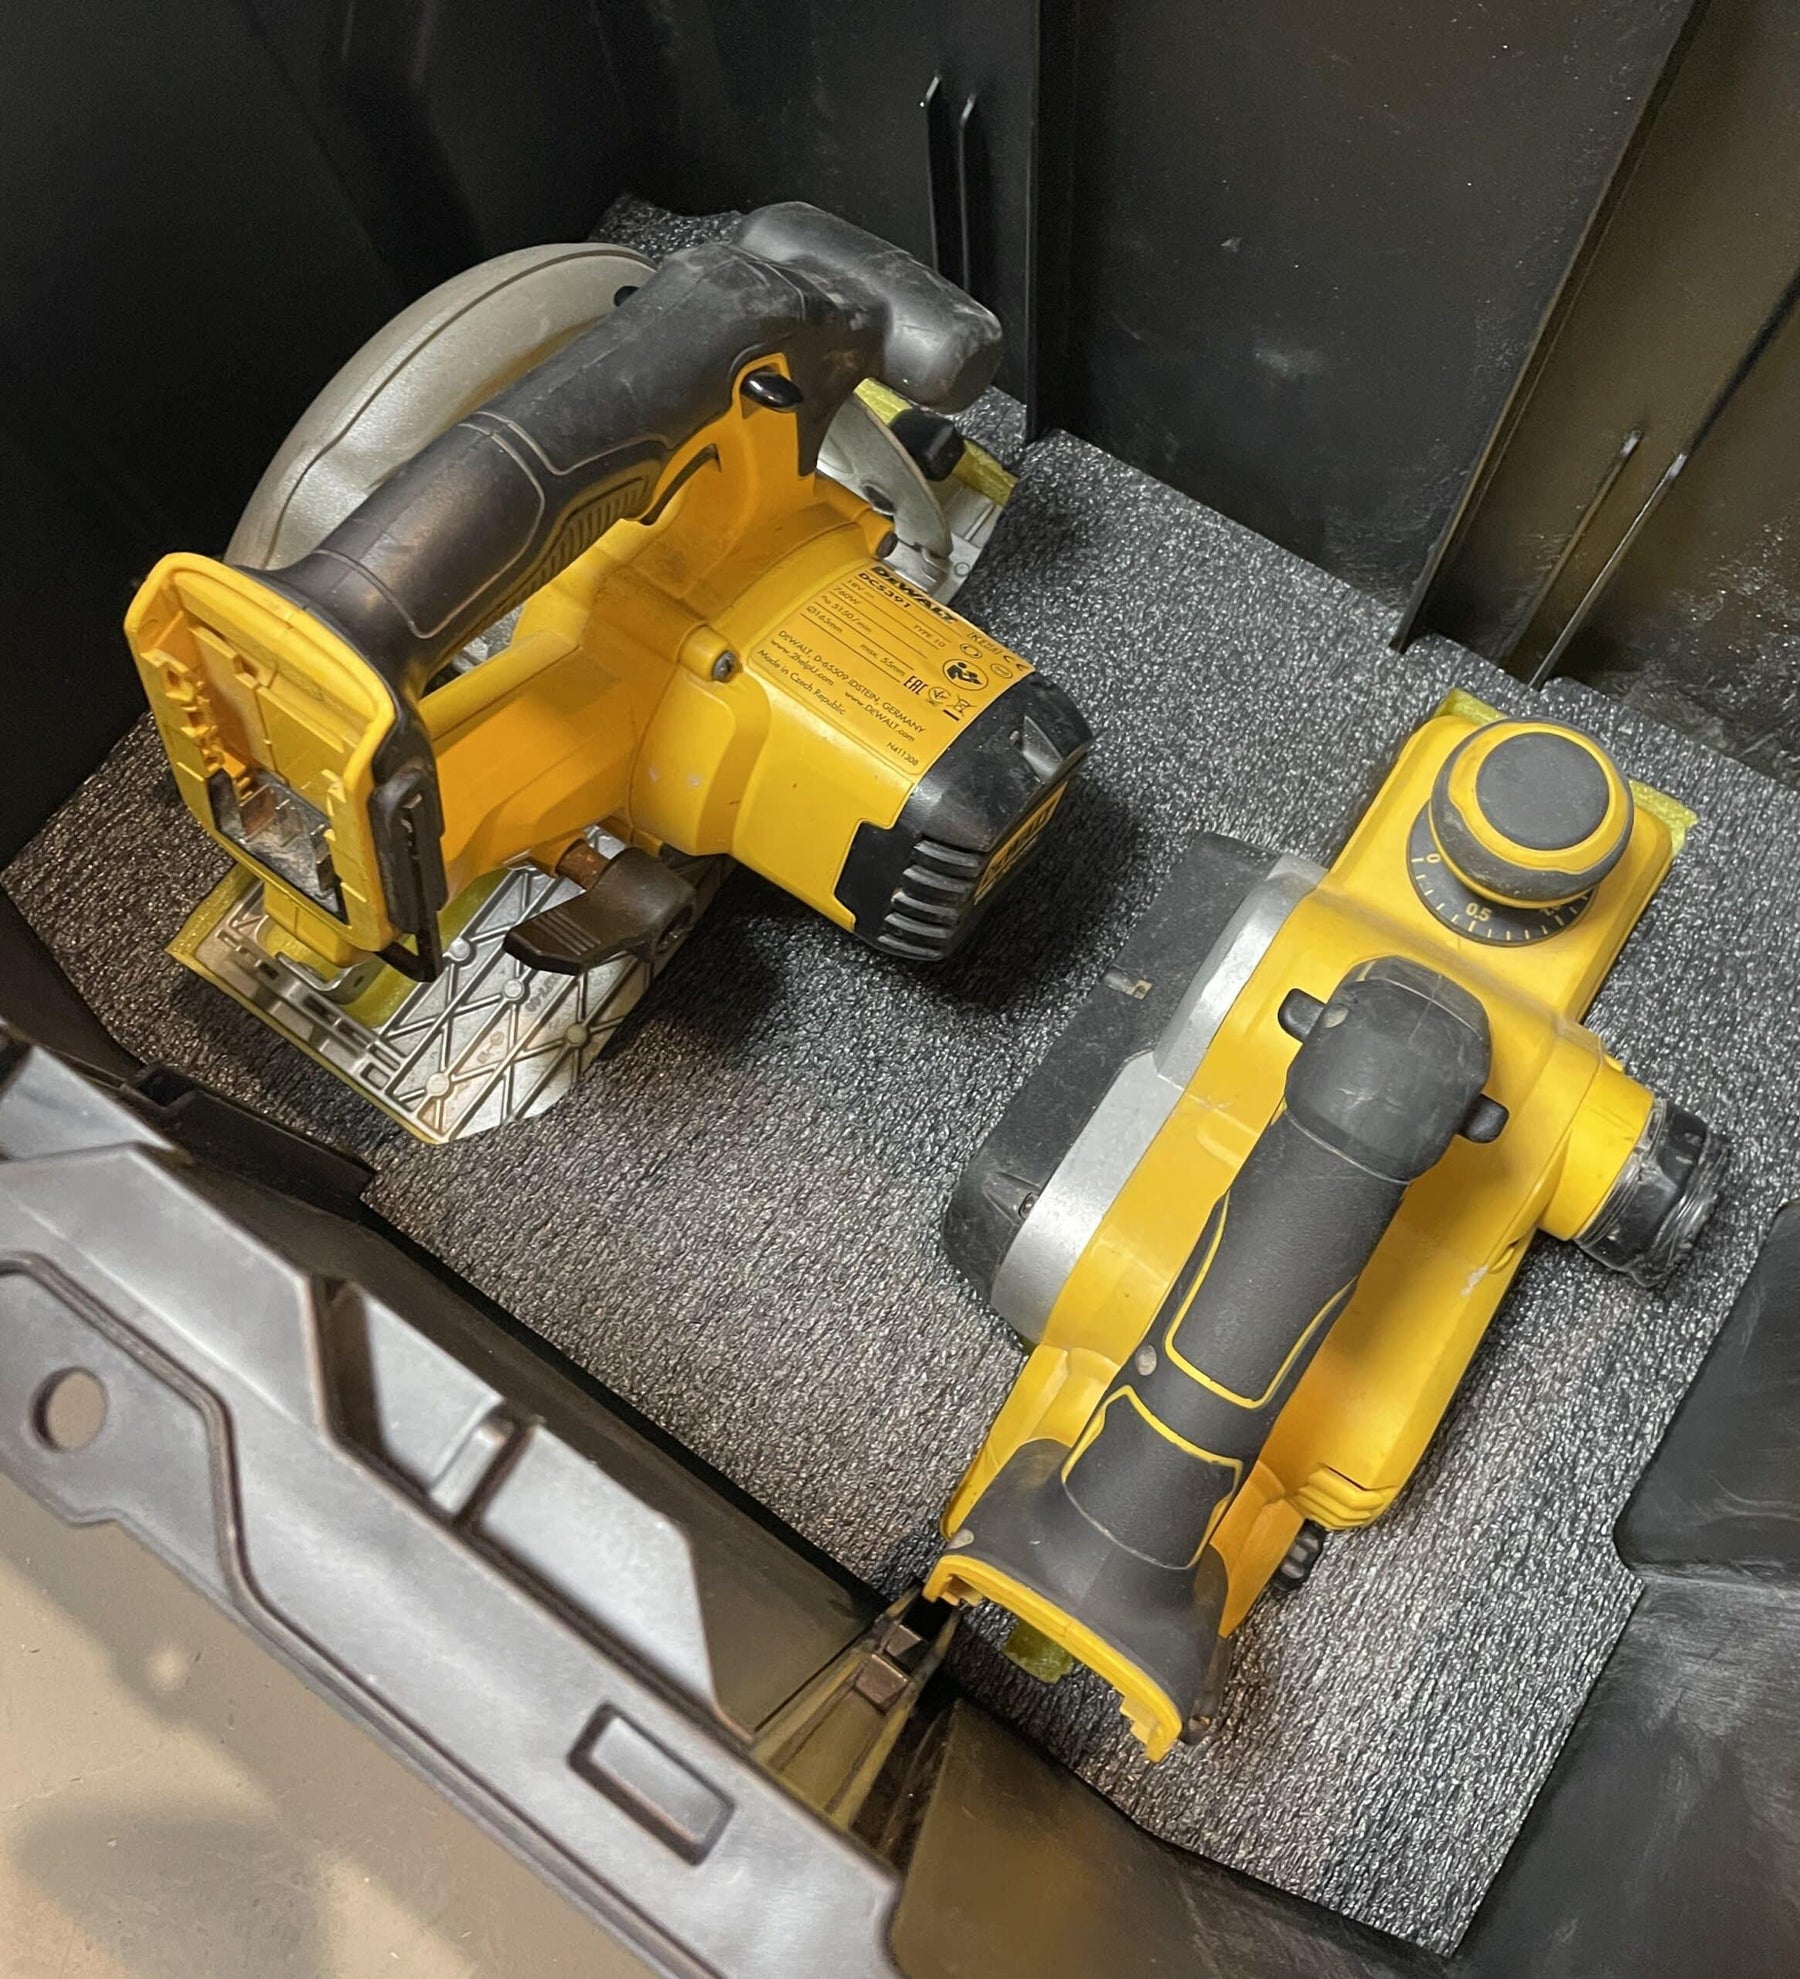
When we were organising our Dewalt Tough System 2.0 stack, we had planned to store our circular saws in the base box of the unit. For us, as you can see from the photo, we had initially planned that we may need to double layer the foam. The Dewalt Tough System 2.0 inserts rolling tool box inserts come in twin packs anyway. So just in case, we had two sheets ready to go. But, we are all about minimising waste where we can, so if we can get away with a single insert then we might do that. Some things are better to see further down the process when you test fit them into the box.
With our circular saws, we have the option of loosening off the base plate or having it sitting tall. Because we are using this deep rolling tool box we have the space, so are going to have it with the blade all the way up. storage for circular saw
Because there is also space to the side of it, we are also going to make use of that. The plan is to sit our planer next to it as the likleyhood is, if we are using one of them, then we will probably be using both! So once we have planned the layout for both items, it’s time to get cutting.
Getting the best results when cutting and peeling
We can’t stress this enough. Whenever you are doing anything new then you should always refer to the instructions and guidance before starting. We’ve made videos to help you use the best methods and in turn achieve the best results. Our cutting and peeling guides in particular are really useful and full of practical hints and tips. But more than that… This is a saw, and you’re cutting it into foam, using (hopefully!) the scalpel blades supplied in our cutting kits. So it’s really important to do everything safely. Very much part of that is the use of safety or cutting gloves. Cutting gloves are supplied in our full cutting kit if you don’t already have them. And we absolutely recommend you wear then at all times when handling the blades.
What’s more, whilst once you’re used to it, the process for doing this is super simple. But as with anything, it can take some practise to get used to. There are definitely techniques that get you better and easier results though. So please do watch as many of our YouTube videos as you need to get comfortable with the process before you start. Let us make all the mistakes, so you don’t have to!storage for circular saw
Remember too that foam, by it’s very nature can be slightly bumpy. So once you’ve peeled away the foam to your required depth you might want to employ other measures for smoothing it off to get a neater finish, and we can help you with that too. But what you will achieve by following our video guides is a perfect snug profile as storage for circular saw in the foam.
Next steps

We were actually really happy in the end using just one of the 50mm inserts for these big items. They were sat snugly enough into the foam that we didn’t need to double layer. When we did a test fit in the box though it became apparent that the deep tray wasn’t going to fit in the box now with these large items in the base.
This is an important consideration for you if you want to have the deep tray in, and folding the circular saw down to it’s lower position might help with that. But for us, this actually worked out quite well. We did already have the shallow tray and we stock ready made inserts for those now too. Also it meant that we could store our Torch Eye and Laser Level in the tray. Because this is the botom case of our stack and these are items that we use less frequently, that will suit us just fine.
So the key here is plan… take time to get your layout right, then cut and peel using our recommended processes. Then you can safely store and protect even the heftiest and most awkward tools!


