Daily order cutoff at 2pm

A guide to Shadowfoaming
We wanted to compile a list of the best hints and tips we can offer when it comes to getting the optimum results when working with Shadow Foam. Shadowfoaming is a relatively straightforward process, but there are definite pointers you can use to get the best finish from your work, we hope this guide helps.
Which depth of foam?

Your depth of foam depends on a number of factors.. what your container is, and what you are storing in it. As you know we offer 3 depths of foam, 30mm,50mm and 70mm. Usually for smaller, lighter tools, hand tools etc the 30mm depth is perfectly adequate. But if you have larger, heavier items then you might want to consider something deeper. Additionally it is possible to layer up the foam if you need it to store something particularly big.

As a general rule of thumb you want to try and keep a base of around 10mm in the bottom of the foam. So, for the 30mm you can cut down to 20mm, 50mm down to 40mm. And for the 70mm you can cut down to around 60mm. So take a look at what you’re storing in the foam and you can decide what depth of foam you need from there.
Try before you buy
If you’ve never seen or used our toolbox organisers before, then we’d really recommend having a try first. You can order a sample pack, more often than not it will be with you the next day. It costs £5 (including free UK postage), and you even get a £5 voucher in it off your first order, so it doesn’t have to cost you a thing.
Planning
We always say this should be one of the longest parts of the process when Shadowfoaming. Take time to think about achieving the best layout for you. You’re the one using it, so it has to be tailored to your needs. So of course you want it to look good and aesthetics are important. But also think about what items you need more regular access to.
Other factors to consider are economy of space if you have a lot of kit… maybe you have some items you want to double-layer? Or conversely, future-proofing if you think you might be adding in additional tools or equipment in the future.

Once you have a layout that you’re happy with… take a snap of it before you start cutting… that way you won’t forget how you wanted it as you’re working through it.
Equipment
Please, please we can’t stress this enough. When you are working with blades to produce your storage, as you have to here, please do it safely. We have a whole range of products designed to help you work accurately and safely and it’s been curated specifically with Shadowfoaming in mind, so do consider whether you have everything you need, and if not, then give our Extras store a visit.
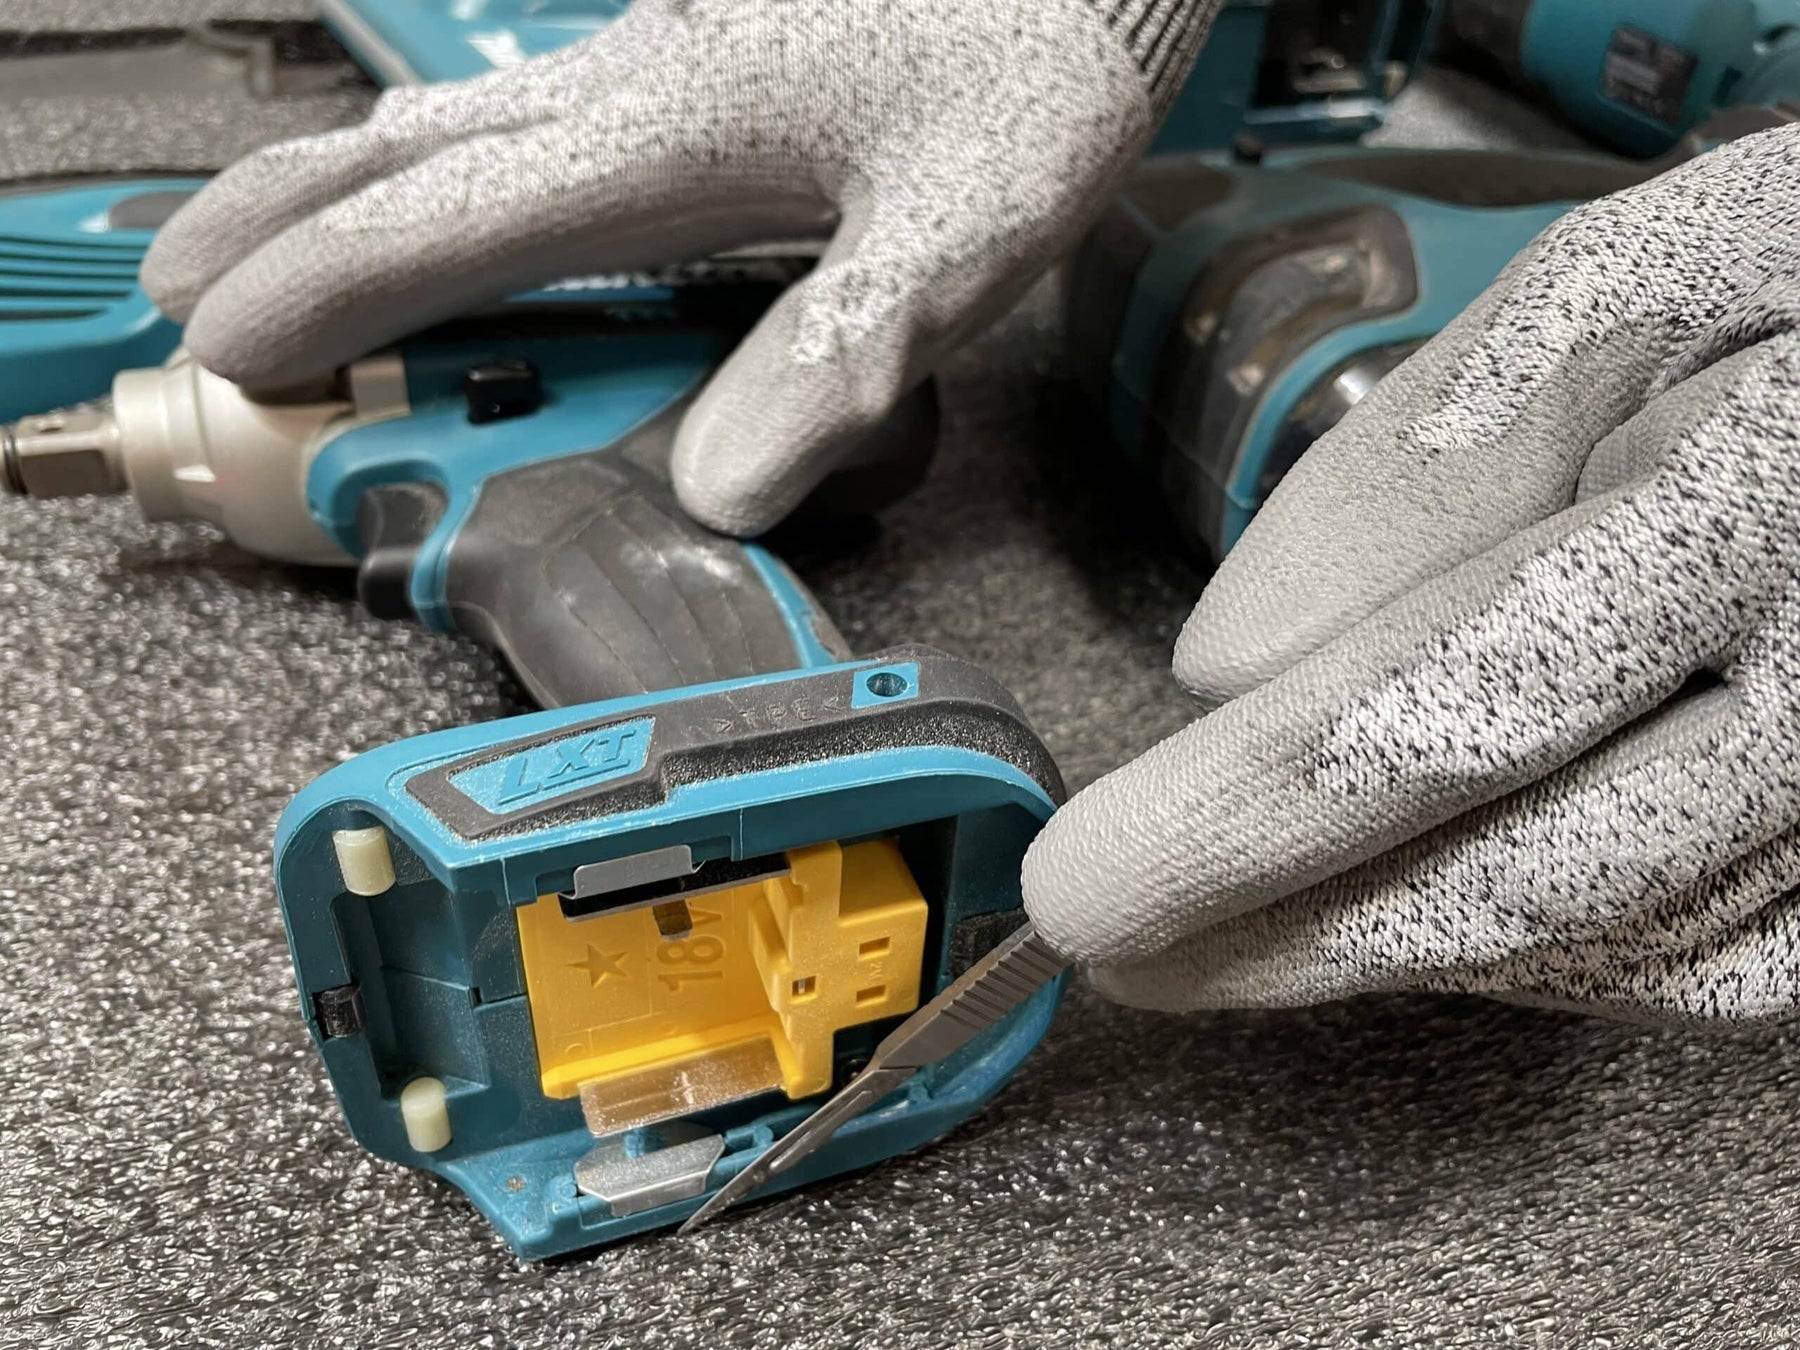
As an absolute minimum you need some strong cutting gloves – you can get those in our full cutting kits. Then something to cut the foam with. Now we know people have all sorts of great, sharp knives but we do recommend using a scalpel where possible to allow you to get a really snug profile cut against the items without any distortion from chunkier handles. You can get these in our basic cutting packs, full cutting kits and can even get additional blades if you need too. A neat addition to your kit is our Fantastic Elastic Glue. If you’re new to Shadowfoaming then this is a must have as any repairs can be made neatly and in such a way as to allow you to continue working with the foam.

But for everything you might need from cutting matts to radius gauges, it’s well worth a visit to the Extras section before you check out with your foam to see what else might be useful.
The fit
If you’ve bought one of our custom fit inserts, you’re onto a winner and can skip this bit!
But if you want to make your own insert for any container, bag, drawer, or just about anything, we can help. You can, of course order Shadow Foam in any size up to 2m x 1m using our Custom Size service, so if you have a square drawer then that’ll do you perfectly.
But what if you have an odd shaped container to fit, or radiuses on the corners, or wanted to buy a medium sheet of Shadow Foam or a Value Pack and cut it to fit yourself? We have a guide for that!

It’s totally possible to make yourself a custom fit foam insert to fit any container – take a look here for more details on how to do that. It’s not teccy, or sophisticated but it’s something anyone would be able to do, just using materials you’ll have laying around at home. And it’s super effective!
A special note… time and patience
When you watch any of our YouTube videos you’ll see how quickly we whizz through our projects. We often say things like “this took us less than a couple of hours” and all this is true. But we do this all the time! We have the techniques and processes down by rote and could pretty much do this in our sleep. But if you’re new to shadowfoaming, it’s worth taking a little more time in the beginning in order to achieve the best results. The speed and ease will absolutely come in time, but like anything, it takes a short while to get used to first.
But it’s really not difficult, anyone can do this, pretty much anywhere as this example illustrates.
We all know the old addage, “measure twice, cut once” and the same is true here. With patience and a methodical approach following our best practises and tutorials, you too will be flying through your tool organisation in time.
Cutting
It’s no accident we cover the best and safest techniques for cutting foam in most of our YouTube videos. It’s a really important part of the process. If you’ve never worked with Shadow Foam before, definitely take a look at this How To guide too.

- Hold the item in place with one hand.
- Using the other hand, hold the scalpel like a pencil and trace cut all the way around the item
(ie not cutting all the way down, just enough so you can see the silhoutette of the item) - Remove the item and go back over your trace cut, cutting down to the depth you require within the foam
(you can use the length of the blade as a visual reference for this depth, and when you begin peeling away, you can also use the layers you’ll see within the foam as a guide too) - It’s important that you’ve cut down deep enough to where you want the base of the item to sit so make sure the tip of your blade reaches as far, or even a little further, than where you want to base to be.
(though you can always go back in and cut after you’ve peeled away a layer or two, to be sure)
Peeling
Now this is absolutely key to how well your project turns out, how good the result looks and how easy you find the process. This technique will take you from novice to expert in no time at all and we really recommend everyone refreshes themselves on this process before they start shadowfoaming!

- Push your finger(s) into the foam at one end of the cut item’s profile
- Continue to plough your finger(s) through the foam so you hear it separating where you push your fingers through
(don’t be tempted to hold and peel as if peeling a banana like in the photo, it will just break off and you’ll have to go again. This takes a little force and effort and is intentional so the foam is strong enough to not fall apart over time) - You might want to peel layers away a little at a time, that’s fine, once you’ve removed one layer then go back in and do the same again.
- The 10mm laminated layer points you can see in the foam can be the toughest points to peel at, so for best results try and peel at any of the other points above and below these
Finishing Touches
Test fit
When you position your tool into the foam it should be a super snug fit. But if it needs a little additional cutting around or down into the foam to get it to sit well or flat then this is a good time to go back at it again. Some items that have uneven bases take a little more cutting down in some areas than others
Flattening the base
We are often asked how you can get a flatter base on your cut out area. This is partly down to employing the best peeling technique like we recommend above. But of course this is foam, and the material by it’s very nature is bumpy. So don’t worry to much if the base of your peeled area isn’t totally flat.
But if like us you are perfectionists, then there are ways of achieving as flat a result as possible. When cutting by hand, this can be done by going back over any “lumps” shaving them away with your scalpel blade positioned horizontal to them and just prising them away.
However we now also have a whole range of foam smoothing tools and techniques that we can share with you, so check out the smoothing options here!
Customisation
You might have seen we often cut our logo into our makes, but lots of other people have been able to do the same themselves adding branding, logos, names or initials to their foam organisers. As you’ll see from this selection below this can look super effective.
All the foam cutting we do is by hand, and these too have been created in the same way so you really can achieve great results. Here you can see us personalising one of our own tool walls so you can replicate and try the same.

Get in touch
We do hope this guide and all the video links help you in your mission to achieving organised perfection! But if there is anything else we can help with, as always, feel free to get in touch.


 Free Cutting Kit on qualifying orders
 Over 4,000 positive reviews
 500+ videos on YouTube
 UK Based Support