Daily order cutoff at 2pm

Hoe maak je een opslagwand met een Franse ophangrail
You know we love a storage wall here at Shadow Foam. But this time we’re taking on something a bit different… and we think you’re going to like it. If you have never heard of a French cleat, never mind a French cleat storage wall, fear not. Here’s everything you need to know about it if you’re looking for a simple and secure may of making an efficient storage and display space.
Choosing / making the frames for our display wall
You probably also know that we love an Ikea hack here too. We did consider making our own display frames for this project. However, for the cost plus the time it would take, we found it was going to be more cost-effective to use ready-made Ikea Sannahed frames. At £10 each they would work out almost perfect for this job. So these were going to be the basis from which our French Cleat wall would be created.

We did have to modify the frames slightly though. The back panels on them weren’t quite strong enough for our purpose, so we ended up cutting down some 9mm MDF to replace the backs of the frames. This gave us a stronger base for mounting the french cleat mounting onto. By the time we’d finished, with the additional timber cost, that took the overall cost per frame from £10 to £14 each.
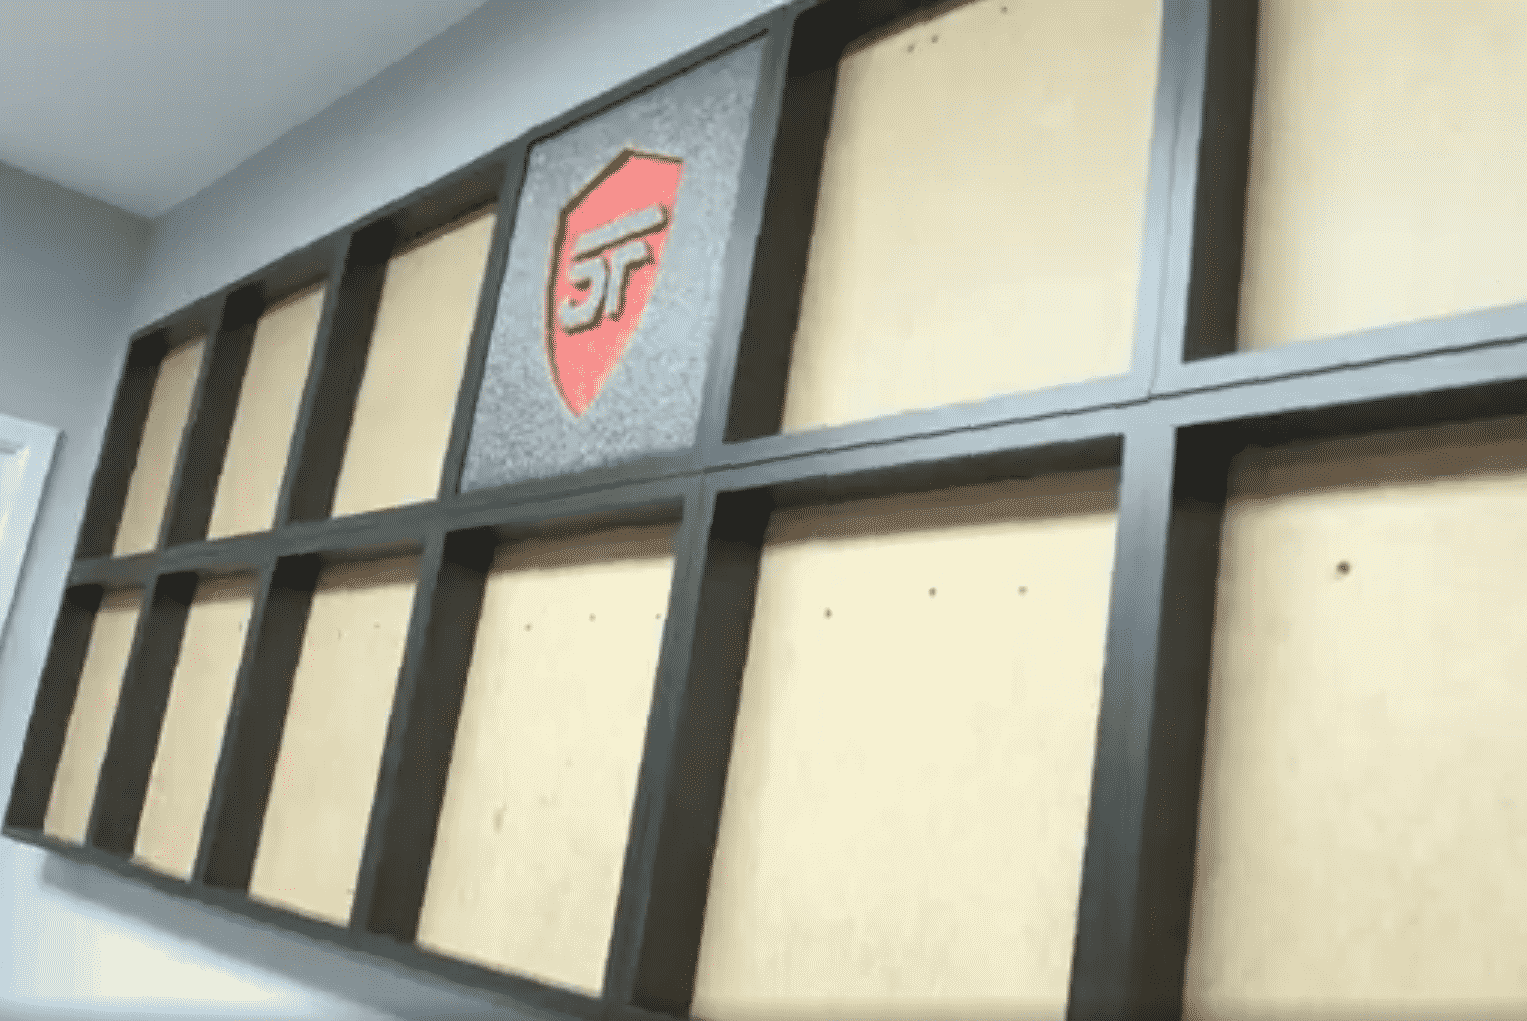
Once we pinned in the back, that left us the perfect space to position a piece of our 50mm custom-size foam into. Of course we went with the black / red colour option to go with our branding. But as you know we do have a whole range of colours if you prefer something different.
So what is a French Cleat?
Essentially it’s a batten affixed to the wall with a 45 degree angle on the top which becomes your attaching rail. Then whatever you are mounting (in this case the frames) would have a baton affixed. The two tails or battens would have equal and opposite 45 degree angles on them. So when the frame is slid onto the rail, the two angles sit perfectly into one another.
For our purpose we are attaching a piece of strip wood to the wall which has been cut at the required angle. Then the same to the reverse of the frames. So beneath this main 45 degree batten there will also need to be another rail. This is what we’re referring to as a spacer. Essentially it is just another piece of strip wood but this one doesn’t need cutting. This one is just to keep the bottom of the frames at the same distance from the wall as the top.
We found we had enough space for 14 frames, formatted as two rows of 7. Therefore, we had two sets of french cleat rail / spacer rails. Of course you can do this in whatever configuration works for the space you have.
Attaching the cleat to the back of the frame
Next job, of course, is getting the opposing 45 degree mounting on to the back of the frames so they can slot in to the attaching rail on the wall. So we took the corresponding length of strip wood and cut it down into 30cm lengths to fit the back of the frames.
We’d cut the angle on the attaching rails freehand with a circular saw. This meant we had a slight varience along the length of the batten. To overcome this, rather than attaching the cleats on the bench and hoping for the best, we decided to attach them whilst up on the wall. Jonathan’s cheat for doing this is by first attaching using a single screw. This enabled us to pivot the frame with a spirt level resting inside it to get it perfectly straight. Then additional fixing screws can be added. By doing this to the middle / top frame first, it means that the other frames will then easily attach square around it.
The result of this is what essentially looks like one impressive, giant, solid frame. The key benefit being that it can be removed panel-by-panel if you ever need to do so. That gives you more flexibility and ease of working with it’s contents. Another tip is you could do like we have and number the back of them. That way, if you do ever need to take them all down, you are easily able to get them returned back in the right order.

Using Shadow Foam for the storage wall
We got Shadow Foam custom size foam to go in each frame. As always in our customary black and red (many other colours available!). And the size of each sheet was 34cm x 34cms which fit snugly into each frame. The foam comes in depth choices of 30mm, 50mm or 70mm, the 50mm being the perfect fit for these frames. We didn’t even have to glue the foam into the frames. With the Ikea Sannahed frame there is a small 2mm lip around the edge. This means we don’t need to glue them in as they are nice and secure. But if you have a different frame or just wanted the assurance of some adhesive, our Shadow Foam Spray Adhesive would work perfectly well.
As is typical of many of our creations, we wanted the French cleat storage wall to contain our logo. By simply printing this off in the required size, and using our Cutting Kit, we hand cut our logo into one of the panels. This takes a little time and patience. However, by using our recommended kit and methods you can achieve a really professional looking customisation of whatever you are making.
Planning the tool layout for the wall
As always, planning is the biggest part of the process. And when it came to getting our tools into this wall, we had plenty to go at with well over 120 tools to house. We wanted it to hold most of our woodworking and measuring kit, basically things that aren’t too heavy.
As always we planned (and re-planned) what we wanted to go where. Also because it was going to be acting as essentially wall art as much as storage, we wanted it to look good too. This is something we’d like to use as a backdrop in some of our videos so asthetics is very important to the project. We wanted to try and use symmetry to make it more pleasing to the eye, and ensure consistent spacing and no negative space on the sheets. Also mirroring things like fingerpulls where we could.
Within the wall we stored a couple of compressed air guns, speed squares and a selection of items from Sealey, Steelman, Facom and NCG to name just a few.
Even including all the planning time, the adaptation of the frames and the cutting in of all the tools, the whole project took us around 5 hours start to finish.
The end result…?
There’s much more detail to come in next week’s video. We’ll show the French cleat wall got filled up with all our tools. But here’s a peek at how it turned out… what do you think!?


