order before 2pm

Insertos personalizados para cajones - ¿cuánto tiempo tardan?
una pregunta que nos hacen todos los días. ¿Cuánto tiempo se tarda en cortar Shadow Foam?? Entonces, lo que vamos a hacer para responder a esto es tiempo exactamente cuánto tiempo se tarda en cortar insertos de espuma para su cajón de herramientas.
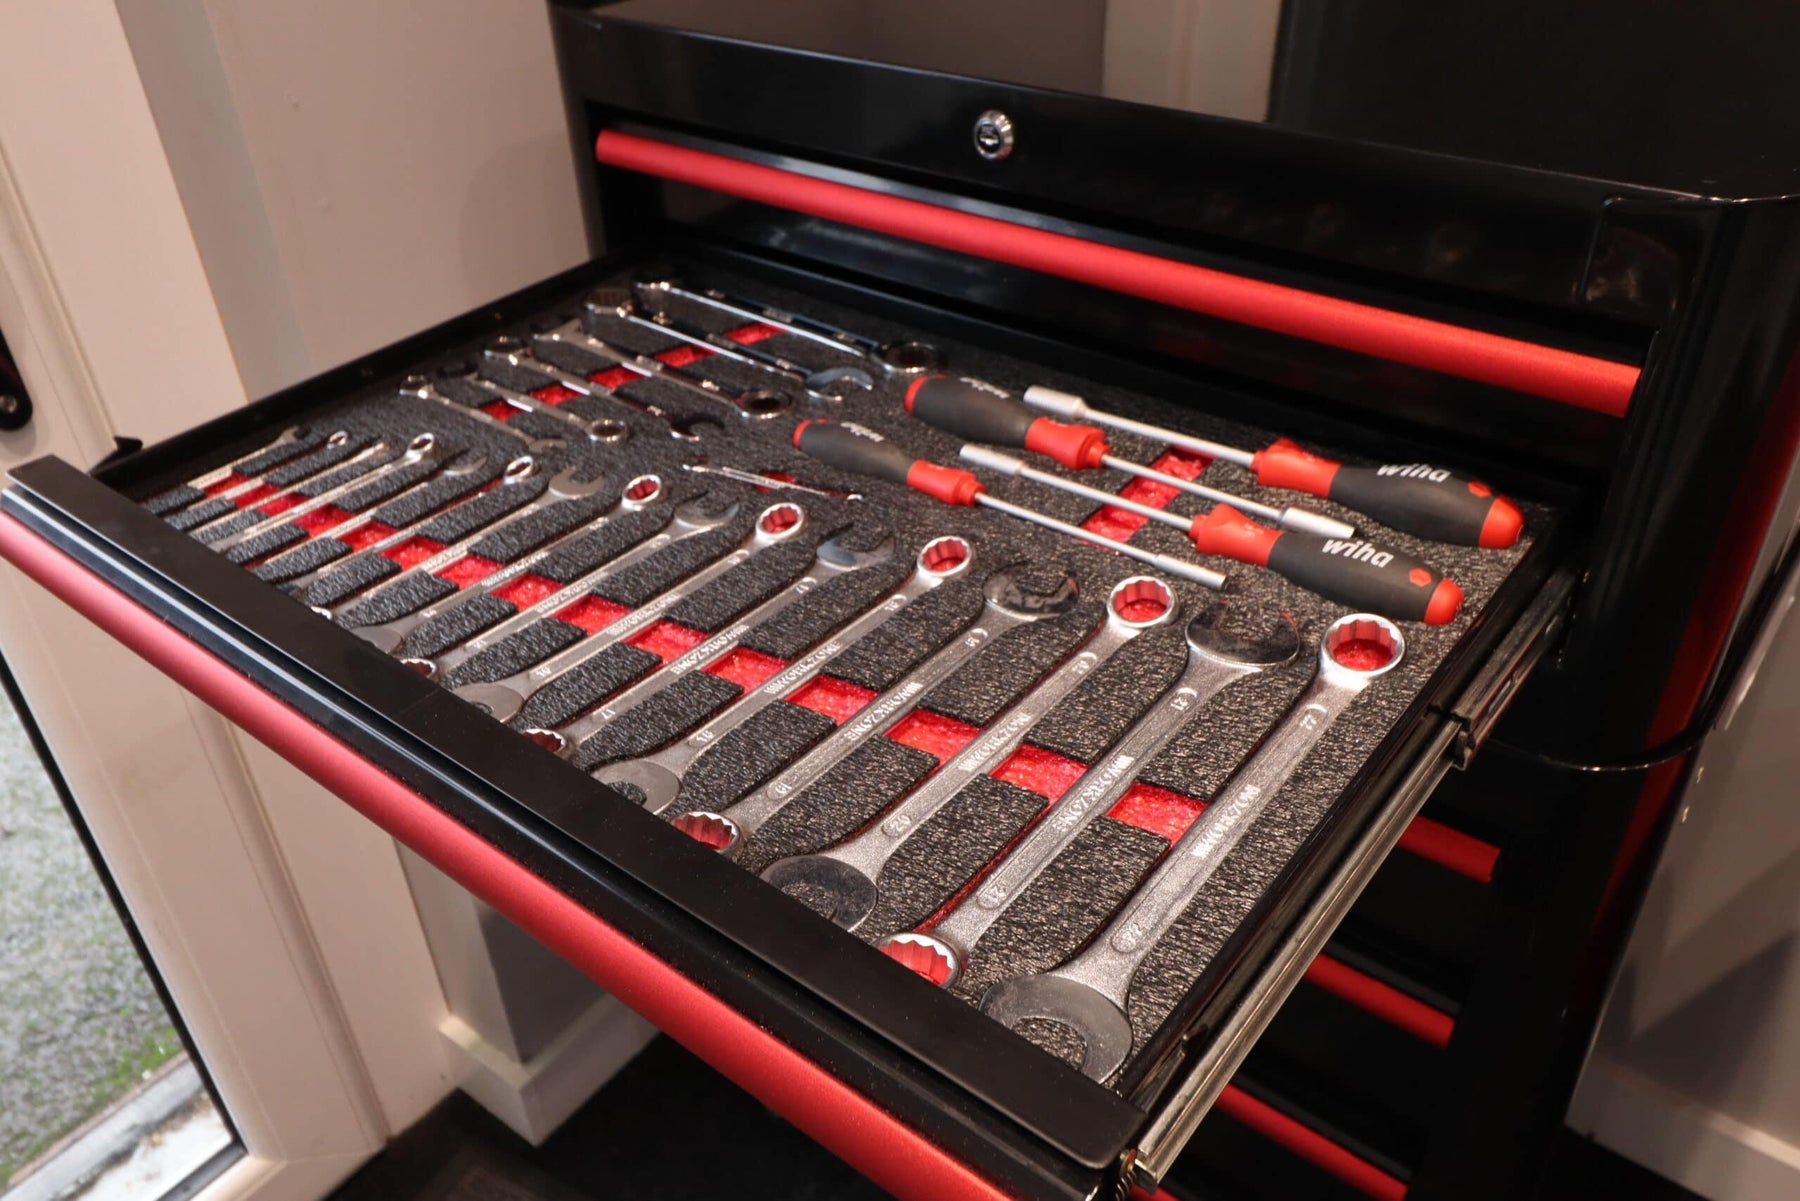
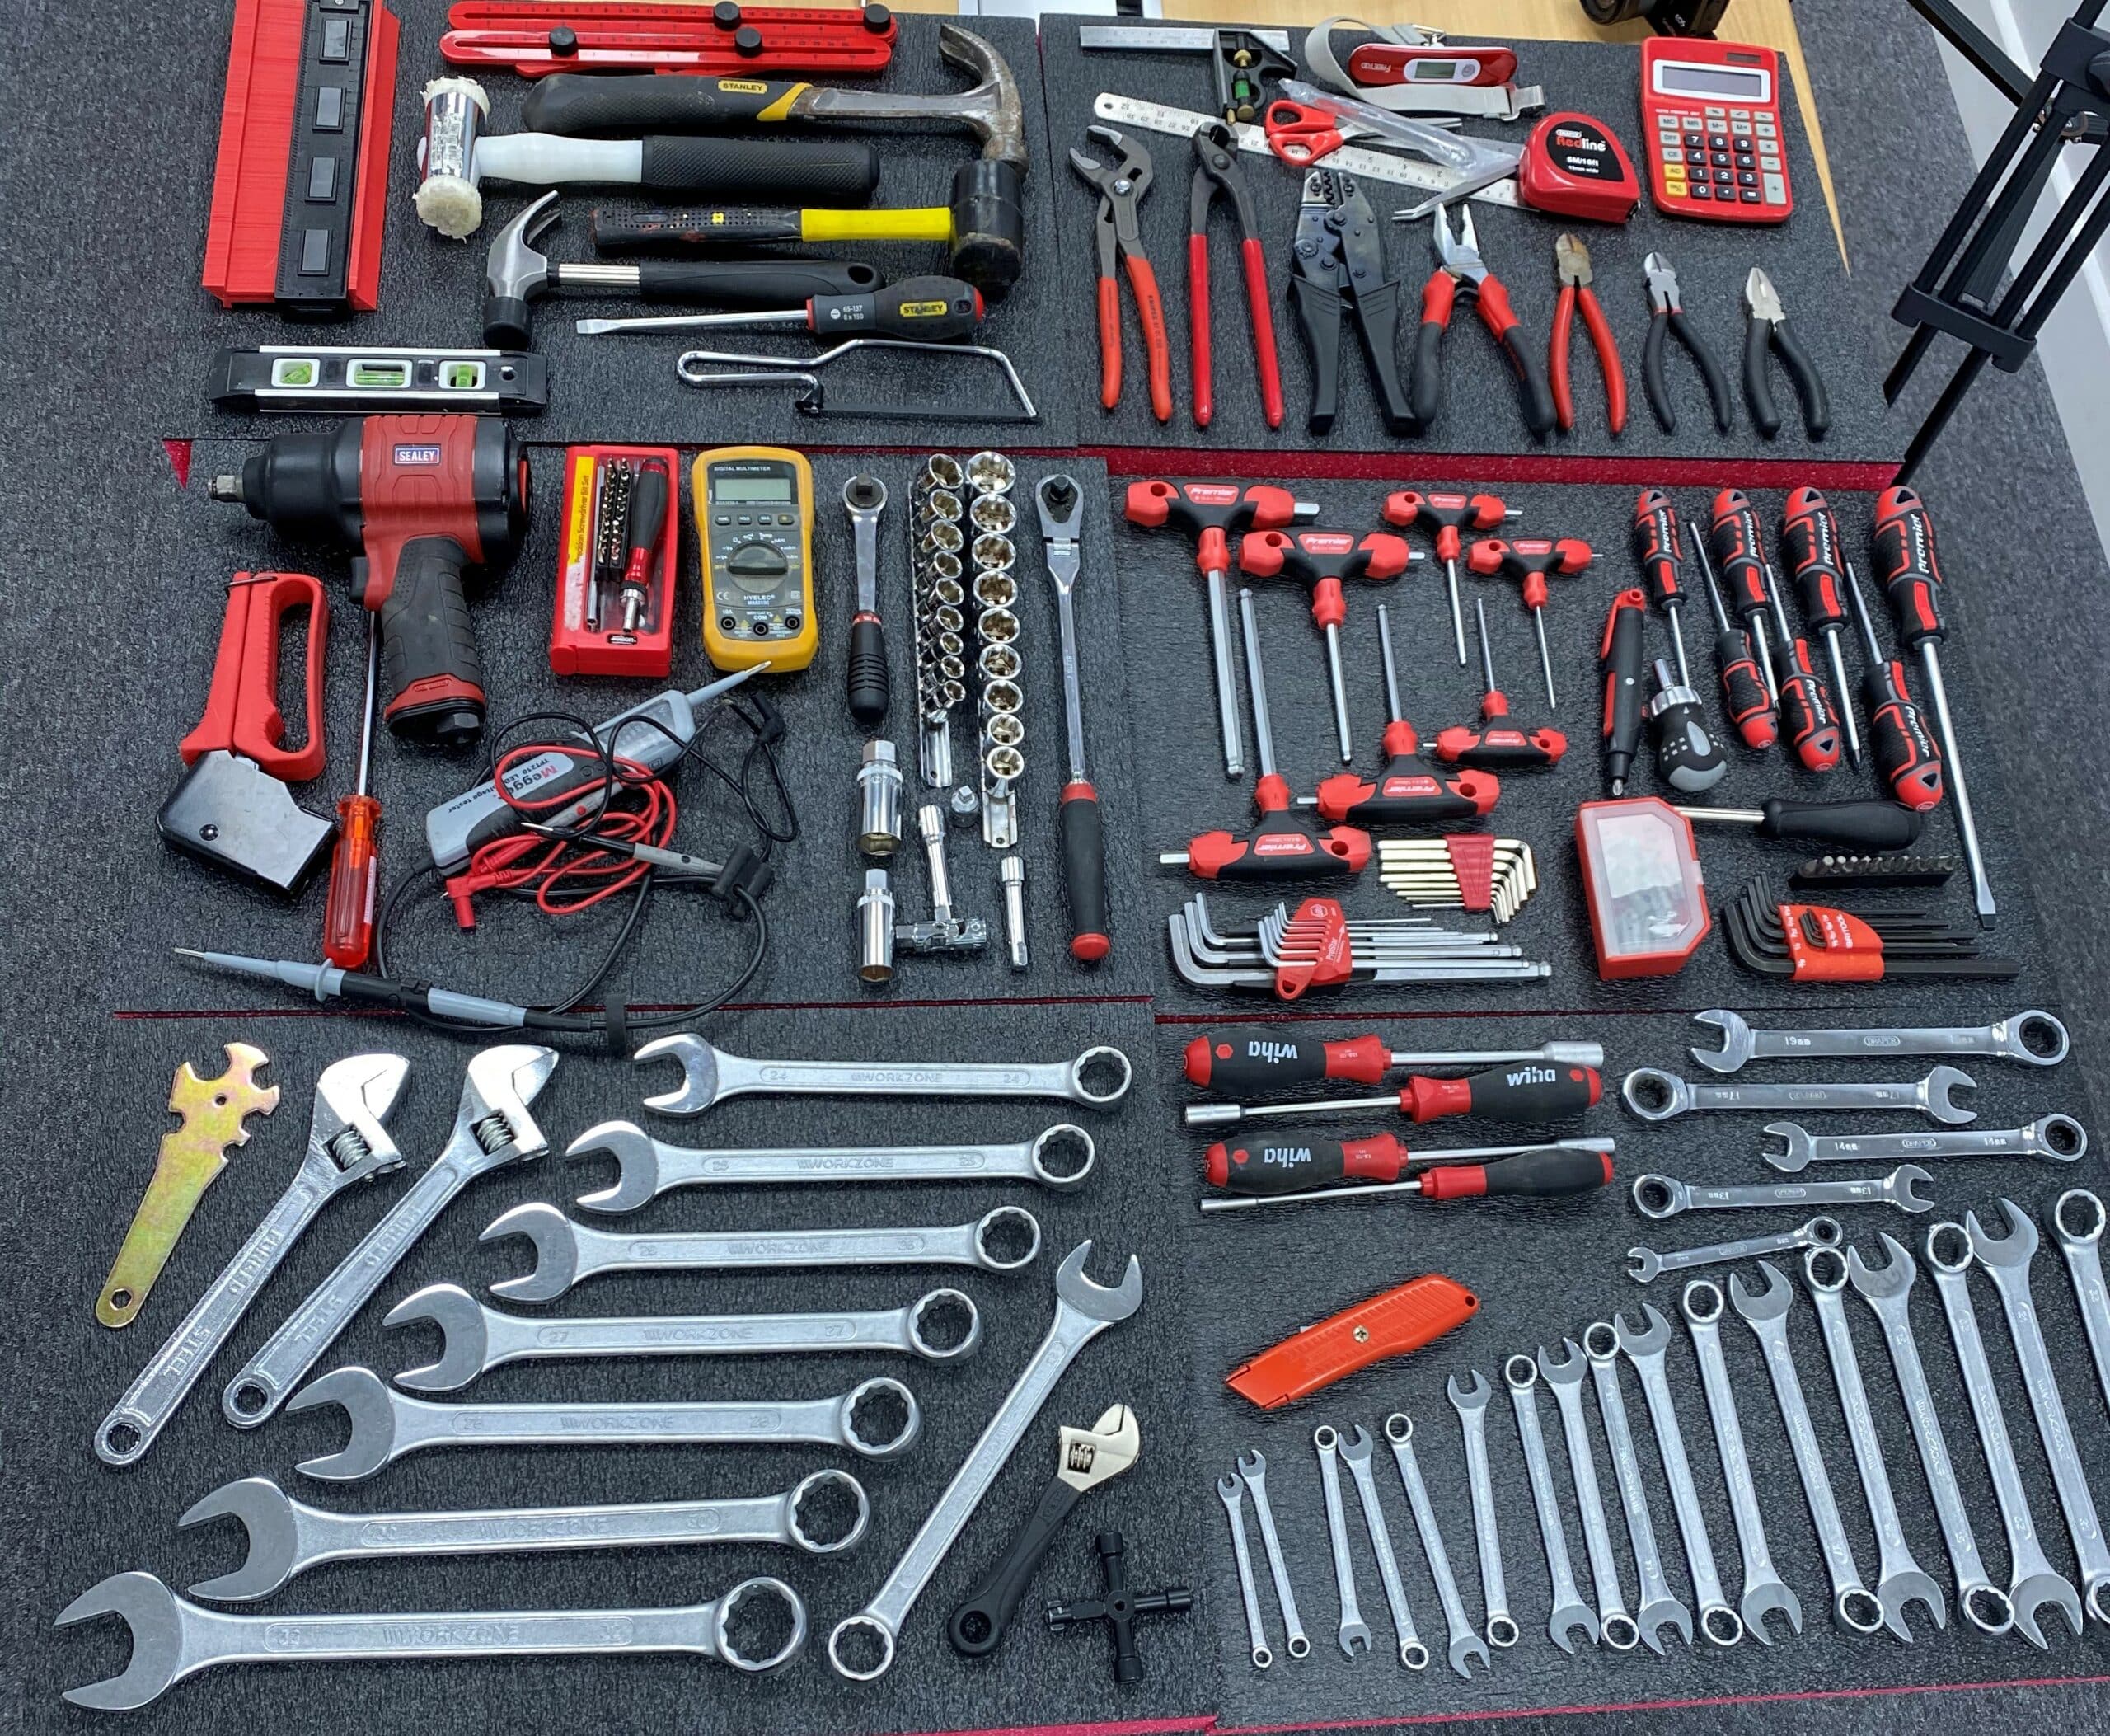
nuestra nueva área de espera de recepción tenemos un Sealey carro de herramientas. Esto también sirve como un escritorio de registro y una unidad de demostración para cualquiera que se acerque a nuestra unidad de producción. Aquí queremos configurarlo con prácticamente un kit de herramientas estándar completo. Eso incluye destornilladores, llaves Allen, llaves, alicates, trinquetes, etc. También tenemos algunos artículos aleatorios como una calculadora. Vamos a hacer todos los cajones hoy, uno tras otro, y cronometrar cuánto tiempo toma.

Cómo organizar tus cajones utilizando insertos de espuma para cajones
Primero pasamos aproximadamente media hora solo averiguando el diseño de los seis cajones. Desde aquí, creemos que tomará tal vez de 2.5 a 3 horas hacer los 6 cajones. ¡Así que, empecemos el cronómetro!

Comenzando con los insertos de cajón de espuma
Tenemos un juego completo de llaves desde 6mm hasta 32mm, así que tuvimos que dividirlo en dos cajones. Debido a que estas son llaves bastante largas, las hemos dispuesto en diagonal para intentar maximizar el espacio. Para cortar, siempre sostén el escalpelo a 90 grados con respecto al objeto y úsalo como un lápiz. Algunas personas dibujan alrededor de los objetos primero, y eso está bien, pero realmente no es necesario. Simplemente crea una línea de trazo con la hoja en su lugar, es mucho más indulgente hacerlo de esa manera.
Con Espuma de fácil pelado, nos gusta tener en cuenta los tiradores para facilitar la extracción de las herramientas. Por lo general, hacemos eso después de haber cortado todas las herramientas. Luego, para completar, volvemos y nos aseguramos de que podemos sacar cada herramienta del diseño. Incluso cuando trabajas rápidamente, esto es algo en lo que vale la pena dedicar tiempo extra. Y además, intenta asegurarte de que estás utilizando cada pequeño espacio. Sin embargo, cuando lo hagas, asegúrate de mantener las categorías ordenadas que deseas, para que puedas encontrar todo fácilmente.

Una vez que todo esté cortado, comienza a quitar la espuma. Para pelar, encontramos el borde del corte que hicimos y empujamos nuestros dedos hacia abajo en el extremo. Luego, simplemente trabajamos la espuma hacia atrás usando nuestros dedos, siguiendo el pelado a lo largo. De esta manera, no lo estamos desgarrando y podemos mantener la profundidad de manera uniforme a lo largo. Necesitas aplicar un poco de fuerza a esto... no podemos permitir que se pele demasiado fácilmente, ya que simplemente se desharía con el tiempo.
Trucos para cortar en formas de herramientas más incómodas
A continuación, destornilladores y llaves de tuerca. Porque en este caso, la hoja de la llave de tuerca es mucho más delgada que el mango, usamos una técnica ligeramente diferente. Primero, cortamos alrededor del mango, siguiendo el contorno de la silueta. Luego, retiramos la llave de tuerca y eso nos da el contorno del mango.
Desde allí, lo que recomendamos es que cortes la espuma del mango primero y retires esa pieza. La razón es que el mango se asentará más plano en la espuma, así que cuando cortes alrededor de la hoja del spinner, podrás hacerlo de manera agradable y cuadrada. Simplemente elimina lo que se conoce como un error de paralaje. Esto ocurre cuando tu corte no es perpendicular a la espuma, lo cual sería difícil de hacer si la hoja del spinner estuviera flotando a cierta distancia sobre la espuma. Esencialmente, el error hace que el escalpelo se desvíe del curso.
Terminando los organizadores de cajones de herramientas de espuma
Llegando a los últimos par de artículos en el cajón, y parece que estamos bien de tiempo. Nos hemos asegurado de tener tiradores en cada inserto y hemos sido cuidadosos de no dejar espacios en el cajón. Probablemente vale la pena mencionar que hicimos todo este carro de rodillos con solo 12 cuchillas de corte. Así que, aunque estábamos cortando alrededor de metal, lo que puede tener un efecto de embotamiento en las cuchillas con el tiempo, aún así solo hemos utilizado un promedio de dos cuchillas por cajón.
Fue un ajuste apretado meter algunos de los insertos porque los cajones tienen un borde en la parte frontal. Tuvimos que hacer un poco de presión para meterlos. Sin embargo, una vez dentro, encajan bien sin ningún espacio a los lados o en la parte frontal.

Entonces, ¿cómo lo hicimos?

Hemos logrado empaquetar mucho en esta unidad, con una amplia mezcla de marcas... El juego de destornilladores mecánicos Premier de Sealey y el juego de llaves hexagonales, destornilladores cortos suizos, carraca Bahco, nuestro juego de llaves de Aldi a buen precio y llaves de carraca Draper Expert. Queríamos recrear una buena representación de un kit de herramientas estándar como el que podrías tener en casa. Así que tienes prácticamente todo lo que podrías necesitar aquí. En total, nos tomó un poco más de 2 horas y 28 minutos hacerlo, así que justo dentro de nuestra estimación. Así que si estás planeando tu propio proyecto en casa, eso resulta en aproximadamente 25 minutos por cajón.


